 Kendric adan
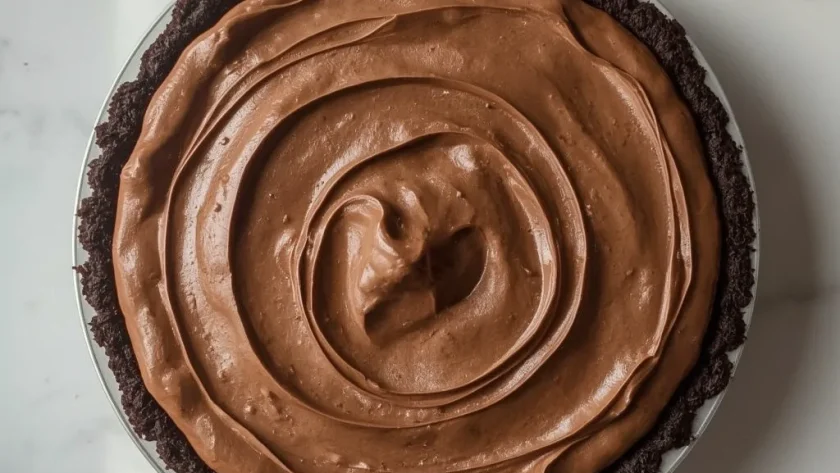
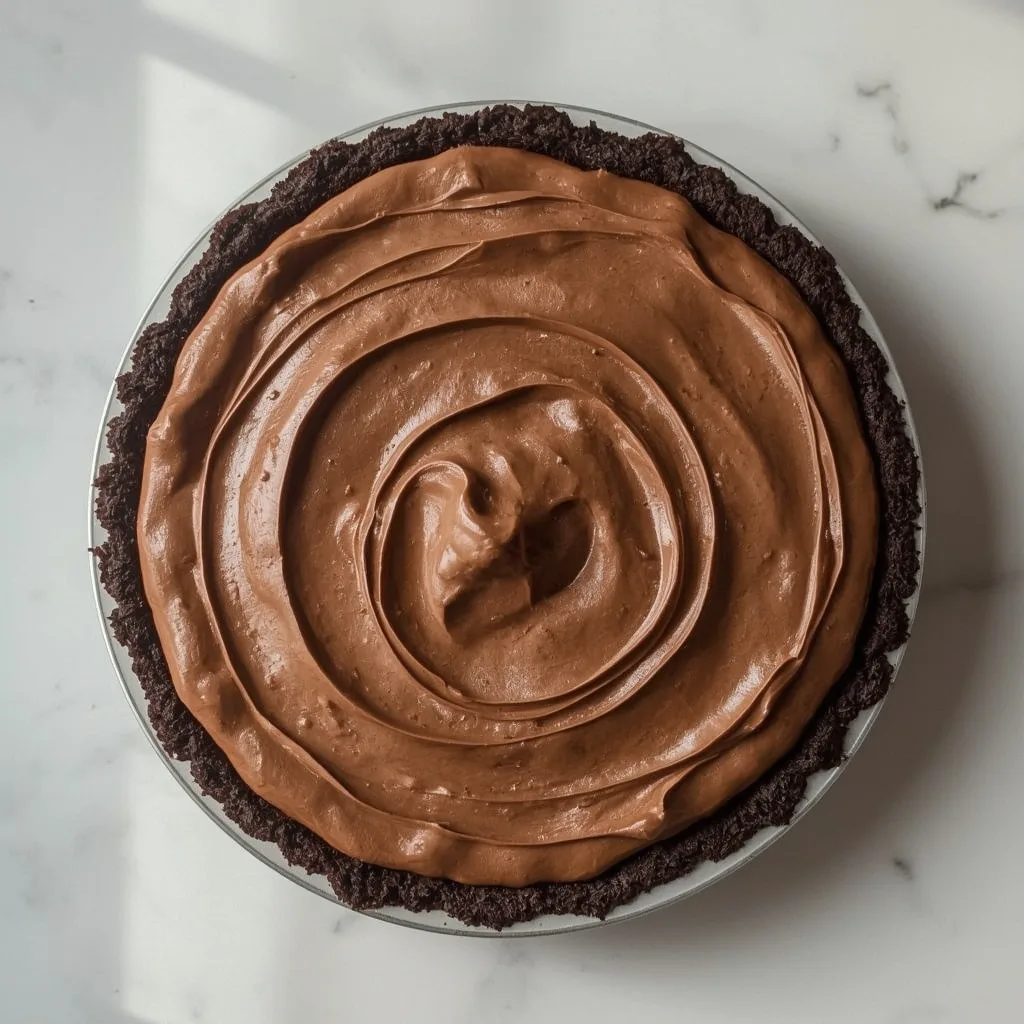
 This Creamy Chocolate Pie is a no-bake dessert with a silky, mousse-like filling and a crisp pre-baked crust. Made with dark chocolate and fresh cream, it tastes rich and balanced, not overly sweet.
The entire process takes about 20 minutes of active prep, plus 4 hours (or overnight) to chill. This recipe is intermediate-level, mainly because you need to watch the custard closely so it doesn’t curdle on the stovetop. It is perfect for holidays, dinner parties, or any time you want a make-ahead showstopper.
Why You’ll Love This Recipe
- No-Bake Convenience — The filling sets in the fridge, so you avoid heating up the kitchen or fussing with an oven.
- Deep, Real Chocolate Flavor — High-quality dark chocolate and cocoa powder give a sophisticated, not cloying, cocoa taste.
- Make-Ahead Friendly — You can prepare this pie a full day in advance, freeing you up on serving day.
What Makes This Recipe Special
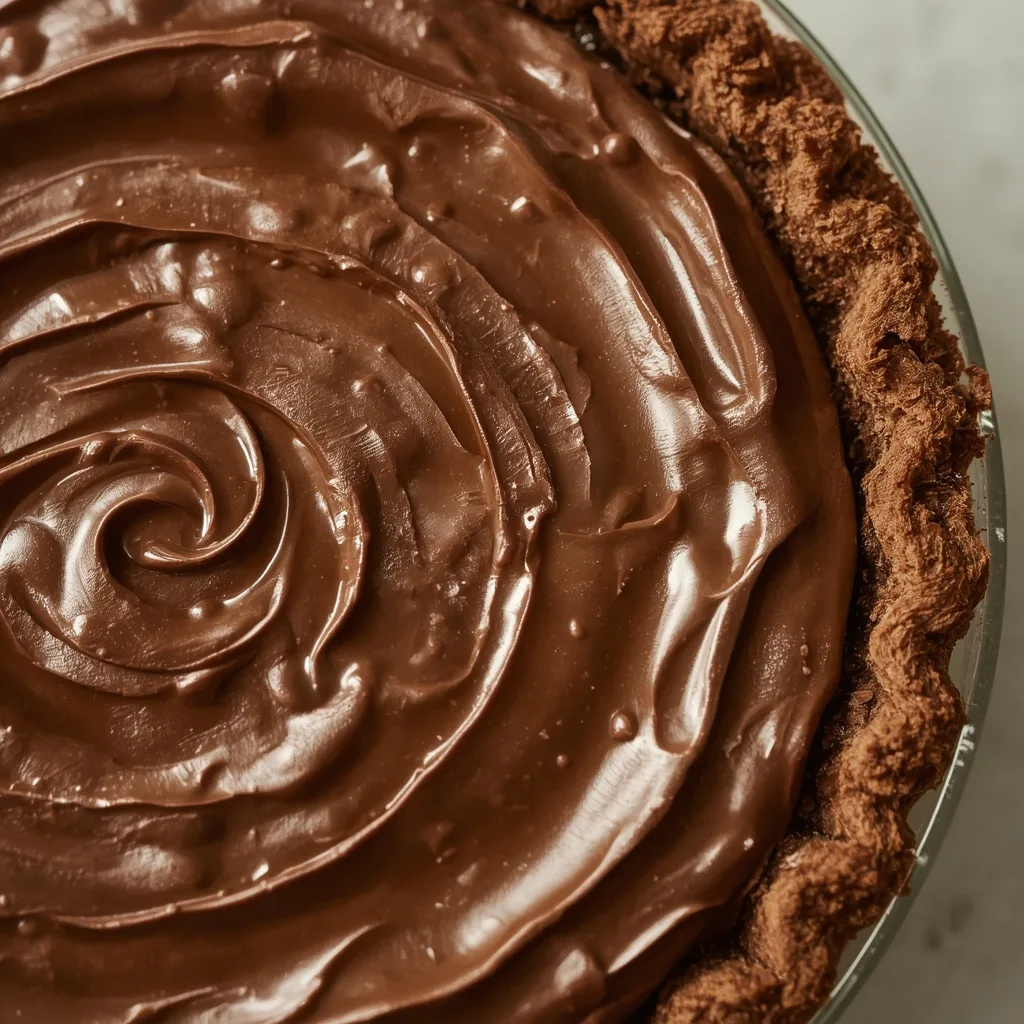
This pie combines a rich chocolate custard with lightly whipped cream to create a filling that is both lush and airy. The dark chocolate (70% cacao) provides a deep, slightly bitter note that contrasts beautifully with the sweet, crisp crust. Every bite feels smooth and decadent, almost like a chocolate mousse tucked into a buttery shell. It is a classic American dessert, ideal for celebrations or a simple weekend treat.
Ingredients You’ll Need
Here is every component you need, with notes on why each one matters.
For the Crust
- 1 refrigerated pie crust (pre-rolled, 9-inch) — This saves time, but you can swap in a homemade pastry if you prefer. The key is a fully pre-baked shell that stays crisp.
For the Filling
- 6 oz / 170g dark chocolate (70% cacao), finely chopped — The hero ingredient. Use a good-quality bar, not chocolate chips, which contain stabilizers and won’t melt as smoothly.
- 1 1/2 cups / 360ml heavy cream, divided — You will use part to melt the chocolate and part to whip for the mousse-like texture. Keep it cold for whipping.
- 3 large egg yolks — These thicken the custard and add richness. Room-temperature yolks incorporate more easily with the sugar.
- 1/4 cup / 50g granulated sugar — Just enough sweetness. It dissolves into the yolks to create a stable base for the custard.
- 1/4 cup / 30g unsweetened cocoa powder, sifted — For an extra layer of chocolate depth. Sifting removes lumps so the custard stays silky.
- 1/2 cup whole milk — Low-fat milk will work, but whole milk gives a creamier custard.
- 1 tsp vanilla extract — Rounds out the flavor. Pure vanilla is best, but imitation works fine.
- 1/4 tsp kosher salt — A pinch balances the sweetness and enhances the chocolate.
- 1 tbsp unsalted butter, cut into small pieces — Stirred in at the end for a glossy, satiny finish.
For the Garnish (Optional)
- 1/4 cup whipped cream and chocolate shavings — A simple topping that makes the pie look stunning with almost no extra effort.
Equipment Needed
- 9-inch pie pan — Standard size for this recipe. Glass, ceramic, or metal all work well.
- Pie weights or dried beans — Essential for blind-baking the crust so it doesn’t puff up.
- Fine-mesh strainer — Strains the custard to remove any tiny bits of cooked egg, ensuring a perfectly smooth texture.
- Electric mixer or stand mixer — For whipping the cream to soft peaks. A whisk and strong arm also work, but it takes longer.
- Rubber spatula — Folding the whipped cream into the chocolate custard gently is much easier with a flexible spatula.
Instructions to Prepare Creamy Chocolate Pie
Follow these steps in order for the best results. Watch the stovetop custard closely to avoid curdling.
- Pre-Bake the Crust — Preheat your oven to 375°F / 190°C. Fit the crust into your pie pan, crimp the edges, and dock the bottom with a fork. Line with parchment and fill with pie weights or dried beans. Bake for 12-15 minutes until the edges are golden. Remove the weights and parchment, then bake for another 5 minutes until the bottom is fully set and lightly browned. Cool completely on a wire rack.
- Start Melting the Chocolate — In a medium heatproof bowl, combine the chopped dark chocolate with 1/2 cup of the heavy cream. Set this aside while you make the custard; the residual heat from the cream will start melting the chocolate.
- Whisk the Egg Yolk Mixture — In a separate bowl, whisk together the egg yolks and sugar until thick and pale, about 2 minutes. Whisk in the sifted cocoa powder, salt, and whole milk until smooth. This step aerates the yolks and prevents lumps later.
- Cook the Custard — Transfer the yolk mixture to a medium saucepan. Cook over medium-low heat, stirring constantly with a rubber spatula, until it thickens enough to coat the back of a spoon (about 5-7 minutes). Do not let it boil, or the yolks will curdle. The visual cue is when a finger run across the coated spoon leaves a clean path.
- Combine Custard and Chocolate — Immediately pour the hot custard through a fine-mesh strainer into the bowl with the chocolate and cream. Let it sit for 1 minute, then stir gently until the chocolate is fully melted and the mixture is smooth and glossy.
- Add Butter and Vanilla — Stir in the vanilla, salt, and butter pieces until the butter is completely melted and incorporated. Let the filling cool to room temperature, stirring occasionally, for about 20 minutes.
- Whip the Cream — In a large chilled bowl, pour the remaining 1 cup of heavy cream. Beat with an electric mixer on medium-high speed until soft peaks form (they droop slightly when you lift the whisk). Do not over-whip; you want a billowy, airy texture.
- Fold Everything Together — Gently fold one-third of the whipped cream into the cooled chocolate custard using a rubber spatula and a figure-eight motion. Once combined, fold in the remaining cream in two more additions until no white streaks remain.
- Assemble and Chill — Pour the filling into the cooled pie crust and spread it evenly. Smooth the top with an offset spatula. Refrigerate the pie, uncovered, for at least 4 hours, or ideally overnight, until firm and set.
- Serve — Optionally garnish with whipped cream and chocolate shavings. For clean slices, dip a sharp knife in hot water, wipe it dry, then cut through the pie. Serve cold.
Expert Tips for a Standout Creamy Chocolate Pie
- Use a thermometer for the custard — If you have one, the custard is ready at about 175°F / 79°C. Without one, the spoon-coating test works perfectly.
- Let the crust cool fully — A warm crust will melt the filling and make it runny. Wait until it is completely at room temperature before pouring in the chocolate mixture.
- Chop the chocolate finely — Small, even pieces melt faster and more uniformly when you add the hot custard. Large chunks may not dissolve fully.
- Do not over-whip the cream — Soft peaks are your goal. Over-whipped cream turns grainy and can deflate the filling, making the pie dense instead of mousse-like.
- Fold the cream in three additions — This technique lightens the base gradually and ensures you do not deflate all the air at once.
- Chill for the full 4 hours (or more) — The pie needs enough time for the chocolate to set and the cream to stabilize. Overnight chilling produces the cleanest slices.
Common Mistakes to Avoid
- Boiling the custard — If the heat is too high, the egg yolks scramble into tiny curds, leaving a lumpy texture. Always cook over medium-low and stir constantly.
- Skipping the strainer — Even if you are careful, small bits of cooked yolk can appear. A fine-mesh strainer catches them and guarantees a silky filling.
- Pouring warm filling into a warm crust — This combination leads to a soggy bottom and a runny pie. Both crust and filling must be at room temperature before assembling.
- Using pre-shredded chocolate — Chocolate chips and pre-shredded baking chocolate have added stabilizers that prevent smooth melting. Always use a chopped bar.
- Cutting before the pie is fully set — Slicing into the pie too early will give you a messy, liquid center. Patience is key — wait the full 4 hours at minimum.
Variations & Ways to Customize Creamy Chocolate Pie
- Add a pinch of cinnamon or espresso powder — Stir 1/4 tsp of either into the custard before folding in the cream. Both enhance the chocolate flavor without being detectable on their own.
- Swap in a chocolate cookie crust — Replace the traditional pie crust with a crust made from chocolate wafer cookies and melted butter. It doubles down on the cocoa flavor.
- Top with a layer of ganache — After the pie chills for 2 hours, pour a thin layer of warm ganache (equal parts cream and melted chocolate) over the top. Return it to the fridge to set for a shiny, firm topping.
- Make it a mint chocolate pie — Add 1/4 tsp peppermint extract to the custard after straining. Garnish with crushed peppermint candies instead of chocolate shavings.
- Go dairy-free — Use full-fat coconut cream in place of the heavy cream, and a dairy-free butter substitute. The texture will be slightly denser but still delicious.
What to Serve With Creamy Chocolate Pie
This rich pie pairs well with simple, complementary flavors that cut through its density.
- Fresh raspberries or strawberries — Their tartness and bright acidity balance the deep chocolate, making each bite feel lighter.
- A dollop of unsweetened whipped cream — A small extra cloud of cream adds a cool, airy contrast without extra sugar.
- Strong black coffee or espresso — The bitterness of coffee echoes the dark chocolate and cleanses the palate between bites.
- Ice-cold milk — A classic pairing that works because the milk’s creaminess softens the intensity of the chocolate.
- Vanilla ice cream — Serve a small scoop on the side for a hot-and-cold contrast, especially if the pie is well-chilled.
Make-Ahead Instructions
- Pre-bake the crust — You can bake the crust up to 2 days in advance. Store it tightly wrapped at room temperature, then fill it on serving day.
- Prepare the filling — The chocolate custard base (steps 2 through 6) can be made a day ahead. Keep it in an airtight container in the fridge, then bring it to room temperature before folding in the whipped cream.
- Whip the cream fresh — Whipped cream is best within an hour of serving. Whip it just before you fold it into the custard and assemble the pie.
- Chill the assembled pie overnight — The pie needs at least 4 hours to set, but 12 hours (overnight) gives you the cleanest slices and the best texture. This is the ideal make-ahead approach.
Storage and Reheating
Storage
- Refrigerator — Wrap the pie tightly with plastic wrap or cover it with a pie dome. It will stay fresh for up to 4 days.
- Freezer — Wrap the whole pie (or single slices) in plastic wrap, then a layer of foil. Freeze for up to 1 month. Thaw overnight in the fridge before serving.
- Slice storage — If you have leftover slices, place them in a single layer in an airtight container with a piece of parchment between layers. They keep for the same 4 days in the fridge.
Reheating
- Not recommended — This is a no-bake, chilled pie. Reheating will melt the cream and ruin the mousse-like texture. Serve it straight from the fridge.
- If you must warm it — Let a slice sit at room temperature for 10-15 minutes before serving. This softens the texture slightly without compromising the structure.
Nutritional Breakdown (Per Serving)
Based on 1 serving = 1 slice out of 4 total.
- Calories: 540
- Protein: 8g
- Fat: 40g
- Carbohydrates: 39g
- Fiber: 4g
- Sugar: about 24g
- Sodium: around 290mg
Frequently Asked Questions
Can I freeze Creamy Chocolate Pie?
Yes, you can freeze it for up to 1 month. Wrap the pie tightly in plastic wrap, then a layer of foil. Thaw it in the refrigerator overnight before serving. The texture stays creamy and smooth.
How long does Creamy Chocolate Pie last in the fridge?
It keeps well for up to 4 days when wrapped tightly or covered. After that, the crust may start to soften and the filling can lose its clean-slice structure.
Can I use milk chocolate instead of dark chocolate?
You can, but the pie will be much sweeter and less rich. Dark chocolate (70% cacao) gives the best balance. If you use milk chocolate, consider reducing the sugar in the custard by 1 tablespoon.
Why did my pie turn out runny?
The most common reason is that the custard was not cooked long enough to thicken properly. Another possibility is that the pie did not chill for the full 4 hours. Make sure the custard coats the back of a spoon before you strain it.
Can I make this pie without eggs?
This recipe relies on egg yolks for structure and richness. For an egg-free version, you would need a different thickening method, such as cornstarch or agar-agar, which changes the texture significantly. I would not recommend it for this particular recipe.
Final Words
This Creamy Chocolate Pie delivers that deep, satisfying chocolate hit without demanding any complicated techniques. I hope you try it for your next celebration — or just because you deserve a truly good dessert. Make it once, and it will become your go-to.
More Recipes
PrintCreamy Chocolate Pie
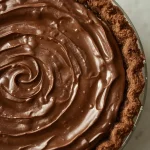
This creamy chocolate pie features a silky, rich filling made with melted dark chocolate and cream, nestled in a crisp pre-baked pie crust. The texture is luscious and mousse-like, with a deep cocoa flavor that is both indulgent and balanced.
- Prep Time: 20
- Cook Time: 15
- Total Time: 430
- Yield: 4 1x
- Category: Dessert
- Method: No-Bake
- Cuisine: American
Ingredients
- 1 refrigerated pie crust (pre-rolled, 9-inch), or homemade for 9-inch pie pan
- 6 oz / 170g dark chocolate (70% cacao), finely chopped
- 1 1/2 cups / 360ml heavy cream, divided
- 3 large egg yolks
- 1/4 cup / 50g granulated sugar
- 1/4 cup / 30g unsweetened cocoa powder, sifted
- 1/2 cup whole milk
- 1 tsp vanilla extract
- 1/4 tsp kosher salt
- 1 tbsp unsalted butter, cut into small pieces
- Optional garnish: 1/4 cup whipped cream and chocolate shavings
Instructions
- Preheat oven to 375°F / 190°C. Fit the pie crust into a 9-inch pie pan, crimping edges decoratively. Dock the bottom with a fork to prevent bubbles, then line with parchment and fill with pie weights or dried beans. Bake for 12-15 minutes until the edges are golden and the bottom appears dry. Remove weights and parchment, then bake for an additional 5 minutes until the crust is fully set and lightly browned. Cool completely on a wire rack; this ensures a crisp base that won’t become soggy from the filling.
- In a medium heatproof bowl, combine the chopped dark chocolate and 1/2 cup of the heavy cream. Set aside while you prepare the custard; the residual heat from the cream will begin to melt the chocolate.
- In a separate medium bowl, whisk together the egg yolks and granulated sugar until thick and pale, about 2 minutes. Whisk in the sifted cocoa powder, kosher salt, and the whole milk until smooth and well combined. This step aerates the yolks and dissolves the sugar, creating a stable emulsion for the custard.
- Transfer the egg yolk mixture to a medium saucepan. Cook over medium-low heat, stirring constantly with a rubber spatula or wooden spoon, until the mixture thickens enough to coat the back of a spoon (about 175°F / 79°C if using a candy thermometer). This should take 5-7 minutes. Do not let it boil, or the yolks will curdle. The visual cue is when the custard leaves a clear path when you run your finger across the coated spoon.
- Immediately remove the custard from heat and pour it through a fine-mesh strainer into the bowl with the chocolate-cream mixture. The straining removes any bits of cooked egg for a silky texture. Let sit for 1 minute to allow the heat to finish melting the chocolate, then stir gently until completely smooth and glossy.
- Add the vanilla extract and kosher salt, and stir in the small butter pieces until fully melted and incorporated. The butter adds a satiny sheen and richness. Let this filling cool to room temperature, stirring occasionally, about 20 minutes.
- In a large chilled bowl, pour the remaining 1 cup of heavy cream. Using an electric mixer or a stand mixer with the whisk attachment, beat on medium-high speed until soft peaks form that droop slightly when the whisk is lifted. Do not over-whip; you want a billowy texture that will lighten the chocolate filling.
- Gently fold one-third of the whipped cream into the cooled chocolate custard using a rubber spatula. Use a figure-eight motion to incorporate without deflating too much air. Once combined, fold in the remaining whipped cream in two additions, until no white streaks remain. This technique yields a mousse-like, airy pie.
- Pour the filling into the prepared, cooled pie crust, spreading evenly to the edges. Smooth the top with an offset spatula. Refrigerate the pie, uncovered, for at least 4 hours, or preferably overnight, until firm and set. The chilling allows the chocolate to fully structure and the cream to stabilize, resulting in clean slices.
- Before serving, optionally garnish with a swirl of whipped cream and a sprinkling of chocolate shavings. Use a sharp knife dipped in hot water and wiped dry to slice cleanly. Serve cold; the pie is at its best when fully chilled.
Notes
Storage: Wrap tightly with plastic wrap and refrigerate for up to 4 days. Freezing: The pie can be frozen for up to 1 month. Wrap in plastic then foil, and thaw overnight in the refrigerator before serving. The texture remains creamy after thawing. Reheating is not recommended, as this is a no-bake pie meant to be served chilled.
Nutrition
- Calories: 540
- Sugar: 24g
- Sodium: 290mg
- Saturated Fat: 24g
- Carbohydrates: 39g
- Fiber: 4g
- Protein: 8g
- Cholesterol: 150mg
Keywords: creamy chocolate pie, no-bake chocolate pie, chocolate pie recipe, dark chocolate pie, easy chocolate dessert, chocolate cream pie, American dessert, chocolate pudding pie, chocolate mousse pie, simple pie, 4-serving dessert