 Kendric adan
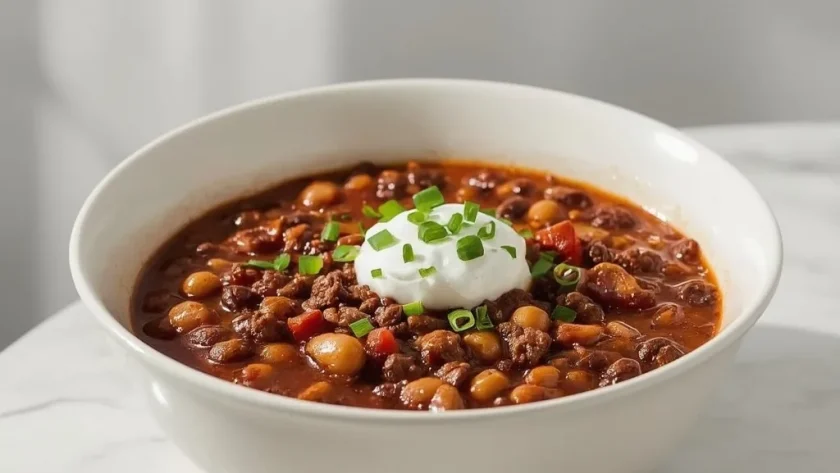
 If you have ever craved that deeply savory, perfectly textured bowl of chili from the square foil packets, this copycat wendy’s chili is exactly what you need. It brings the same hearty ground beef, tender beans, and smoky tomato broth right to your stovetop.
With just 15 minutes of prep and 45 minutes on the stove, this is a beginner-friendly recipe that delivers big on flavor. The only slightly tricky part is browning the beef properly without stirring too often, but getting that deep crust is worth the wait.
Why You’ll Love This Recipe
- Authentic Fast-Food Flavor — Recreates the signature savory-sweet-smoky taste of the original without leaving your house.
- Pantry-Friendly Ingredients — Uses simple canned goods and spices you likely already have stocked.
- Thick and Satisfying Texture — The long simmer creates a rich, non-watery consistency that coats every bean and piece of beef.
- Perfect for Meal Prep — Tastes even better the next day, making it ideal for weekly lunches or busy weeknights.
What Makes This Recipe Special
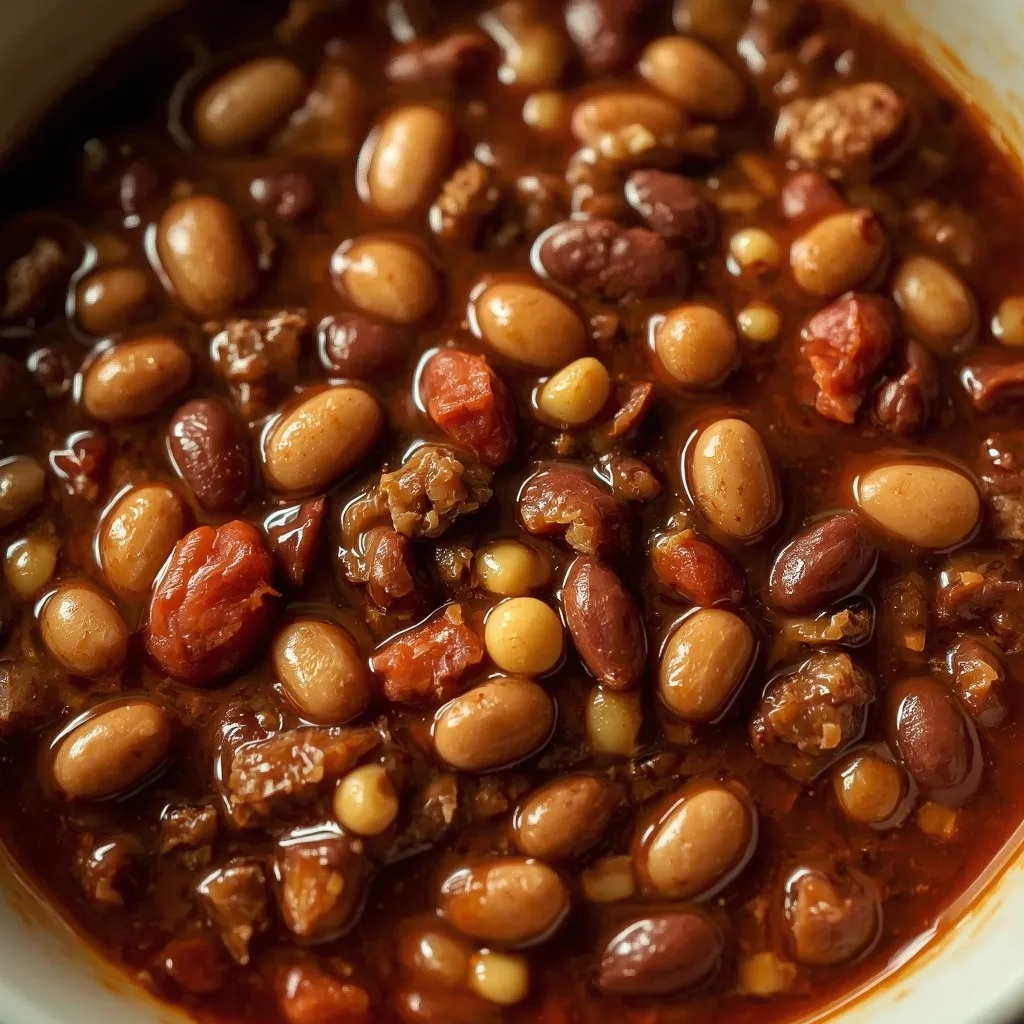
The magic of this recipe lies in the technique of browning the beef undisturbed to build a deep fond, then blooming the chili powder and cumin directly in the rendered fat. It avoids the common pitfalls of bland or greasy chili, resulting in a clean, robust bowl that feels both nostalgic and homemade. This is the kind of meal that fills the house with a welcoming aroma on a chilly afternoon.
Ingredients You’ll Need
Here is everything you need to make this stovetop chili come together perfectly.
Produce & Meat
- 1 pound 80/20 ground beef — Provides the rich, beefy base. The 20% fat is crucial for flavor during browning.
- 1 medium yellow onion, finely diced — Adds a sweet, savory backbone when sautéed until translucent.
- 1 medium green bell pepper, seeded and finely diced — Gives the chili that classic fast-food texture and mild vegetal sweetness.
- 2 ribs celery, finely diced — Offers an earthy, subtle bitterness that balances the acidity of the tomatoes.
- 2 cloves garlic, minced — Brings a pungent, aromatic punch that deepens the overall savory profile.
Canned Goods & Pantry Staples
- 1 can (15 ounces) tomato sauce — Creates a smooth, thick base without being too acidic or watery.
- 1 can (14.5 ounces) diced tomatoes, undrained — Adds chunky texture and bright acidity to break up the richness.
- 1 can (15 ounces) kidney beans, drained and rinsed — Provides a creamy, hearty bite that holds its shape well during simmering.
- 1 can (15 ounces) pinto beans, drained and rinsed — Offers a softer, earthier texture that blends beautifully into the broth.
- 1 tablespoon Worcestershire sauce — Brings umami and tangy complexity that mimics the depth of a long-simmered chili.
Spices & Seasonings
- 2 tablespoons chili powder — The primary spice, delivering warm, smoky heat and that signature red color.
- 1 teaspoon ground cumin — Adds an earthy, citrusy depth that defines the chili’s distinct aroma.
- 1 teaspoon smoked paprika (optional) — Enhances the smoky flavor profile, mimicking a grilled or fire-roasted taste.
- 1 teaspoon granulated sugar — Balances the acidity of the tomatoes for a rounded, non-tangy finish.
Equipment Needed
You likely have most of these tools already in your kitchen. Here is what works best.
- Large Dutch Oven or Heavy-Bottomed Pot — Distributes heat evenly and prevents scorching during the long, gentle simmer.
- Wooden Spoon — Perfect for breaking up the meat and scraping up the fond without scratching your pot’s surface.
- Slotted Spoon — Makes it easy to remove the browned beef while leaving the flavorful rendered fat behind.
- Sharp Chef’s Knife — Essential for dicing the vegetables into uniform, small pieces that cook evenly.
Instructions to Prepare copycat wendy’s chili
Follow these steps closely, and you will have a pot of chili that rivals the drive-thru.
- Brown the Beef — Heat 1 tablespoon vegetable oil in a large Dutch oven over medium-high heat until shimmering. Add the ground beef and cook, breaking it apart with a wooden spoon, until browned all over, about 5–7 minutes. Do not stir constantly; allow the meat to develop a deep brown crust for maximum flavor.
- Remove Fat — Once browned, use a slotted spoon to transfer the beef to a plate. Discard all but about 1 tablespoon of the rendered fat from the pot. You want just enough to sauté the vegetables.
- Sauté the Aromatics — Reduce the heat to medium. Add the diced onion, green bell pepper, and celery to the pot. Sauté, stirring frequently, until the vegetables are softened and the onion turns translucent, about 5–6 minutes. Scrape up any browned bits from the bottom as you stir.
- Bloom the Spices — Add the minced garlic and cook until fragrant, about 30 seconds. Then add the chili powder, ground cumin, smoked paprika, salt, and pepper. Stir to combine and cook for 1 minute, allowing the spices to toast and deepen their flavor significantly.
- Combine and Simmer — Return the browned beef to the pot. Pour in the tomato sauce, undrained diced tomatoes, and Worcestershire sauce. Add the drained kidney beans and pinto beans. Stir gently to combine. Bring the chili to a full boil over high heat, then immediately reduce the heat to low.
- Simmer Gently — Cover the pot and let it simmer gently for 30 minutes, stirring occasionally to prevent sticking. The chili should be bubbling lazily — a rapid boil can break down the beans.
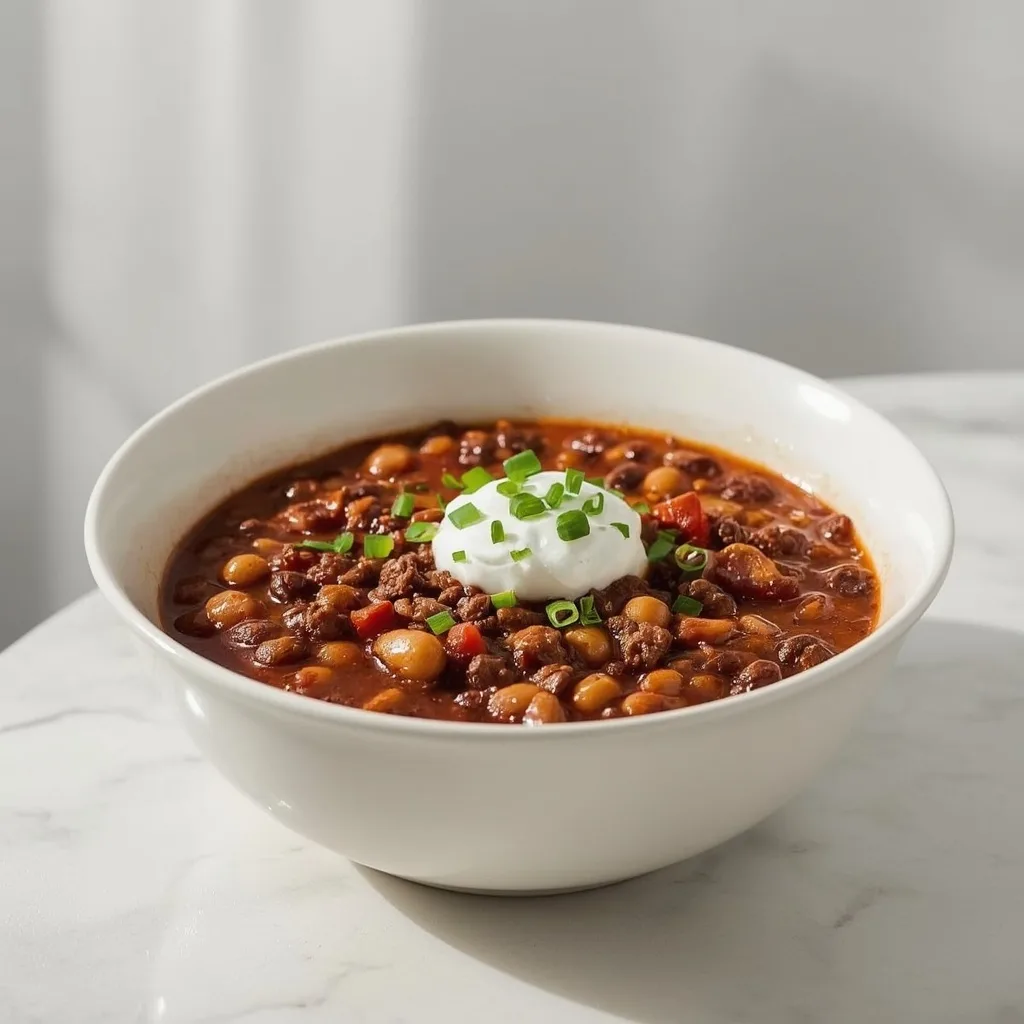
- Finish and Serve — Uncover and stir in the granulated sugar to balance the acidity. Taste and adjust seasoning with more salt, pepper, or a dash of cayenne if desired. Let the chili simmer uncovered for an additional 5–10 minutes to thicken to your liking. Serve hot with desired toppings.
Expert Tips for a Standout copycat wendy’s chili
After making this dish several times, these small adjustments made the biggest difference in flavor and texture.
- Develop a Deep Sear — Let the beef sit in the hot pot without moving it for a few minutes. This creates a rich, brown crust that builds the foundational flavor of the entire dish.
- Reserve the Right Amount of Fat — Discard all but 1 tablespoon of the rendered fat. Too little leaves the chili dry, while too much makes it greasy and heavy.
- Scrape the Fond — When sautéing the vegetables, use your spoon to lift the browned bits off the bottom of the pot. That concentrated beef flavor is culinary gold.
- Bloom Your Spices — Cooking the chili powder and cumin in the hot fat for a minute unlocks their essential oils. It makes the spice taste toasted and aromatic rather than raw and dusty.
- Simmer Gently — Keep the chili at a lazy bubble, not a rapid boil. A hard boil can break down the beans into mush and cause the sauce to thicken unevenly.
- Rest Before Serving — Letting the chili sit off the heat for 10 minutes allows the flavors to meld and the starches to settle, creating a thicker, more cohesive bowl.
Common Mistakes to Avoid
Here is what tripped me up the first few times I made this, so you can skip the learning curve.
- Stirring the Beef Too Soon — If you stir constantly, the meat steams instead of sears. Let it form a deep brown crust before breaking it apart.
- Skipping the Vegetable Sauté — Adding raw vegetables directly to the liquid results in crunchy, undercooked bits. Sweating them first ensures a soft, sweet texture throughout.
- Overloading with Liquid — The recipe needs very little added water because the tomatoes and beans release enough moisture. Adding too much water creates a thin, watery broth.
- Forgetting to Drain the Beans — The starchy liquid from the cans can make the chili pasty and muddy. Drain and rinse them well for a cleaner, brighter taste.
- Underseasoning at the End — Adding enough salt at the start is important, but a final adjustment after simmering is critical. Taste and adjust before serving.
Variations & Ways to Customize copycat wendy’s chili
This base recipe is fantastic as is, but it is also very forgiving. Here are a few ways to make it your own.
- Spicy Heat — Add a dash of cayenne pepper, a spoonful of chipotle in adobo, or your favorite hot sauce along with the tomatoes for a fiery kick.
- Leaner Meat — Swap the 80/20 beef for ground turkey or lean ground sirloin. If doing this, add 1 tablespoon of olive oil to compensate for the lost fat.
- Extra Vegetables — Finely dice a carrot or zucchini and sauté it with the onions. It adds natural sweetness and sneaks in more nutrients effortlessly.
- Smokier Depth — Stir in 1/2 teaspoon of liquid smoke along with the Worcestershire sauce. It replicates the charred flavor of a grill beautifully.
- Bean Swap — Replace the pinto beans with black beans or dark red kidney beans for a slightly different texture and visual appeal.
What to Serve With copycat wendy’s chili
A bowl of this hearty chili is satisfying on its own, but the right sides and toppings make it a complete meal.
- Saltine Crackers or Oyster Crackers — The classic choice. They add a crunchy, salty contrast to the thick, savory chili.
- Shredded Cheddar Cheese and Sour Cream — The creamy coolness of sour cream and the sharp saltiness of cheddar balance the smoky heat perfectly.
- Fresh Diced Onion and Jalapeños — A sprinkle of raw, sharp onion and spicy jalapeño adds a fresh, biting crunch to each spoonful.
- Cornbread or a Warm Flour Tortilla — A slice of moist cornbread or a soft tortilla is perfect for sopping up every last bit of the rich broth.
- Steamed Rice or Fritos — Serve the chili over a bed of white rice for a Frito Pie-style bowl, or top with Fritos for a crunchy, salty twist.
Make-Ahead Instructions
This chili is an excellent candidate for meal prepping since the flavors actually get better after a day in the fridge.
- Complete Batch — Make the entire pot up to 2 days in advance. Cool completely, cover, and refrigerate. Reheat gently on the stovetop.
- Prep the Vegetables — Dice the onion, bell pepper, and celery up to 3 days ahead. Store them in an airtight container in the fridge to save time on cooking day.
- Brown the Meat — Cook the ground beef, let it cool, and store it in a sealed container in the fridge for up to 2 days. Start the recipe from step 3 when you are ready.
- Portion for Freezing — Divide the cooled chili into individual freezer-safe bags or containers. Lay flat to freeze for quick, single-serving lunches.
Storage and Reheating
Storage
- Refrigerator — Store leftovers in an airtight container for up to 5 days. The flavor deepens beautifully over time as the spices meld.
- Freezer — Pour cooled chili into a freezer-safe bag or container. It will keep well for up to 3 months. Thaw overnight in the fridge before reheating.
- Cooling Before Storing — Let the chili cool to room temperature before covering and refrigerating. Placing hot chili directly in the fridge creates excess condensation.
Reheating
- Stovetop — Reheat in a saucepan over medium heat, stirring occasionally, until bubbling. From chilled, this takes about 8-10 minutes.
- Microwave — Heat in a microwave-safe bowl in 30-second bursts, stirring between each, until hot throughout. This is the quickest method for a single serving.
- From Frozen — Thaw overnight in the fridge, then reheat on the stovetop over medium heat for 15-20 minutes. Alternatively, reheat directly from frozen in a saucepan over low heat, adding a splash of water if needed.
Nutritional Breakdown (Per Serving)
Based on 1 serving out of 4 total.
- Calories: 484
- Protein: 34g
- Fat: 19g
- Carbohydrates: 48g
- Fiber: 12g
- Sugar: 10g
- Sodium: about 788mg
Frequently Asked Questions
Can I make copycat Wendy’s chili in a slow cooker?
Yes. Brown the beef and sauté the vegetables on the stovetop first, then transfer everything to a slow cooker. Cook on low for 6-8 hours or high for 3-4 hours.
How can I thicken my copycat Wendy’s chili?
If your chili is too thin, mash some of the beans against the side of the pot and stir them in. You can also simmer it uncovered for a longer period to let the liquid reduce naturally.
Is this recipe gluten-free?
Yes, it is naturally gluten-free. Just be sure to check the labels on your Worcestershire sauce and chili powder to ensure they are certified gluten-free.
Can I use dried beans instead of canned?
Yes. Cook 1/2 cup of dried kidney beans and 1/2 cup of dried pinto beans until tender, then add them to the pot as you would the canned beans. Adjust cooking time as needed.
How long does copycat Wendy’s chili last in the fridge?
Stored in an airtight container, it will stay fresh for up to 5 days. The flavors will meld and deepen, making it taste even better on day two.
Final Words
Making this copycat wendy’s chili at home is a rewarding way to enjoy a fast-food favorite with quality ingredients you trust. I hope this guide gives you the confidence to fill your kitchen with that incredible aroma. Give it a try, and let me know how it turns out for you.
Similar Recipes
PrintCopycat Wendy’s Chili

A hearty, deeply savory chili that replicates the iconic fast-food version with tender ground beef, kidney and pinto beans, and a smoky tomato broth. Perfectly seasoned with chili powder and cumin, this stovetop version is rich, thick, and satisfying.
- Prep Time: 15
- Cook Time: 45
- Total Time: 60
- Yield: 4 1x
- Category: Main Course
- Method: Stovetop
- Cuisine: American
Ingredients
- 1 tablespoon vegetable oil
- 1 pound 80/20 ground beef
- 1 medium yellow onion, finely diced (about 1 cup)
- 1 medium green bell pepper, seeded and finely diced (about 1 cup)
- 2 ribs celery, finely diced (about 1/2 cup)
- 2 cloves garlic, minced
- 2 tablespoons chili powder
- 1 teaspoon ground cumin
- 1 teaspoon smoked paprika (optional)
- 1 teaspoon kosher salt (plus more to taste)
- 1/2 teaspoon freshly ground black pepper
- 1 can (15 ounces) tomato sauce
- 1 can (14.5 ounces) diced tomatoes, undrained
- 1 tablespoon Worcestershire sauce
- 1 can (15 ounces) kidney beans, drained and rinsed
- 1 can (15 ounces) pinto beans, drained and rinsed
- 1 teaspoon granulated sugar
- Optional: dash of cayenne pepper or hot sauce
Instructions
- Heat 1 tablespoon vegetable oil in a large Dutch oven or heavy-bottomed pot over medium-high heat until the oil shimmers. Add the ground beef and cook, breaking it apart with a wooden spoon, until browned all over, about 5–7 minutes. Do not stir constantly; allow the meat to develop a deep brown crust for maximum flavor.
- Once the beef is fully browned, use a slotted spoon to transfer it to a plate, leaving the rendered fat in the pot. Discard all but about 1 tablespoon of the fat — you want just enough to sauté the vegetables. This step removes excess grease while preserving the fond (browned bits) on the bottom of the pot.
- Reduce the heat to medium. Add the diced onion, green bell pepper, and celery to the pot. Sauté, stirring frequently, until the vegetables are softened and the onion turns translucent, about 5–6 minutes. Scrape up any browned bits from the bottom of the pot as you stir to incorporate that flavor.
- Add the minced garlic and cook, stirring constantly, until fragrant, about 30 seconds. Be careful not to let it burn — the aroma should be noticeable but not acrid.
- Return the browned beef to the pot. Add the chili powder, ground cumin, smoked paprika (if using), kosher salt, and black pepper. Stir to combine and cook for 1 minute, allowing the spices to toast and bloom in the heat. This deepens their flavor significantly.
- Pour in the tomato sauce, undrained diced tomatoes, and Worcestershire sauce. Stir well to incorporate all ingredients. The mixture will look thick and chunky at this stage.
- Add the drained and rinsed kidney beans and pinto beans. Stir gently to distribute them evenly without mashing the beans. If the chili seems too thick, add up to 1/2 cup of water or beef broth to reach your desired consistency.
- Bring the chili to a full boil over high heat, then immediately reduce the heat to low. Cover the pot and let it simmer gently for 30 minutes, stirring occasionally to prevent sticking. The chili should be bubbling lazily — a rapid boil can break down the beans.
- After 30 minutes, uncover and stir in the granulated sugar to balance the acidity of the tomatoes. Taste and adjust seasoning with more salt, pepper, or a dash of cayenne if desired. Let the chili simmer uncovered for an additional 5–10 minutes to thicken slightly to your liking.
- Serve hot with desired toppings such as shredded cheddar cheese, diced raw onion, sour cream, oyster crackers, or chopped jalapeños. For best flavor, let the chili rest off the heat for 10 minutes before serving.
Notes
Refrigerate leftovers in an airtight container for up to 5 days. This chili freezes beautifully for up to 3 months — thaw overnight in the refrigerator before reheating. To reheat, warm in a saucepan over medium heat, stirring occasionally, until bubbling (about 8–10 minutes from chilled, 15–20 from frozen). Alternatively, microwave in 30-second bursts, stirring between each, until hot. The flavors deepen over time, making this an excellent make-ahead dish.
Nutrition
- Calories: 484
- Sugar: 10g
- Sodium: 788mg
- Saturated Fat: 7g
- Carbohydrates: 48g
- Fiber: 12g
- Protein: 34g
- Cholesterol: 75mg
Keywords: Wendy’s chili copycat, copycat Wendy’s chili, homemade chili, beef chili, American chili, comfort food, easy chili, stovetop chili, ground beef recipe, bean chili, chili recipe