 Kendric adan
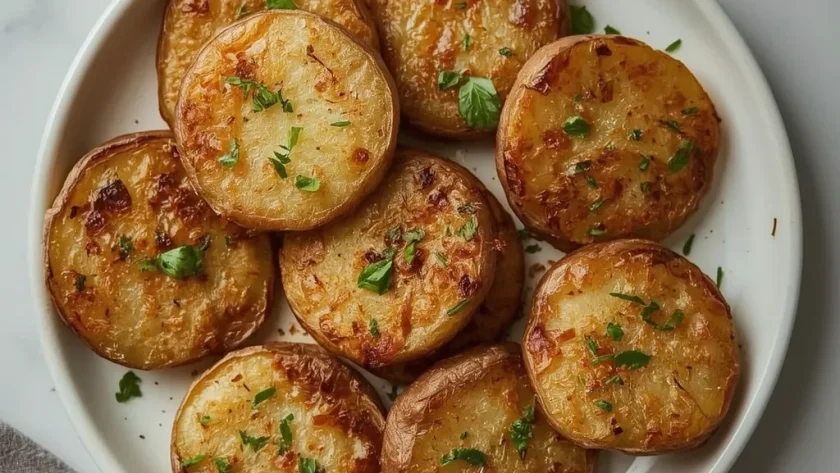
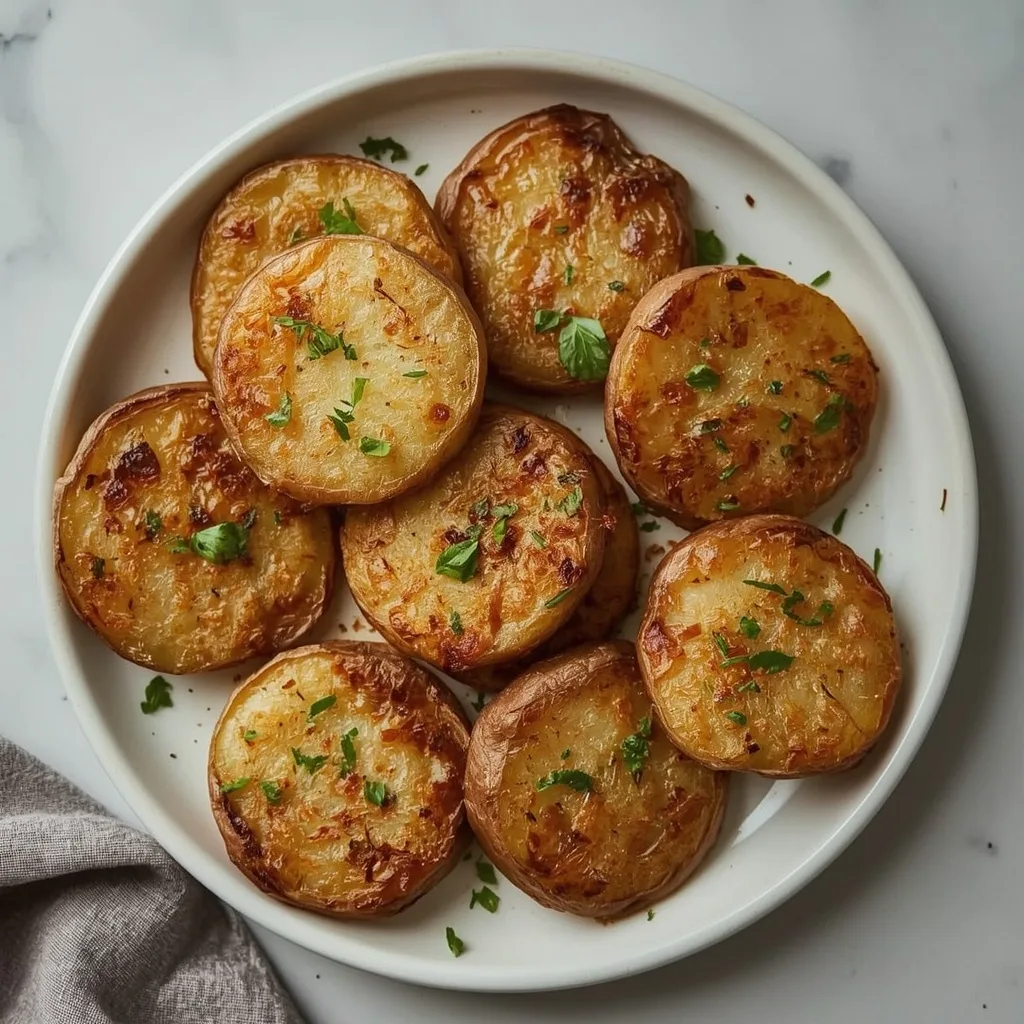
 Healthy Mary Brown’s Taters (Baked) give you all the crispy, golden goodness of classic potato wedges without the deep fryer. The exterior turns beautifully crunchy while the inside stays fluffy and tender, thanks to a savory blend of herbs and spices that coats every single piece.
You can have these on the table in about 55 minutes total, making them an approachable beginner-friendly side dish for weeknight dinners or weekend gatherings. The only step that needs a bit of attention is patting the wedges completely dry before tossing them in oil — that little detail makes the difference between crispy and soggy.
Why You’ll Love This Recipe
- Bakes Instead of Frying — All the satisfying crunch of fried potatoes with just 2 tablespoons of olive oil for the entire batch.
- Simple Pantry Ingredients — Most of the seasoning blend uses spices you likely already have in your kitchen cabinet.
- Reliable Texture Every Time — The flip halfway through ensures even browning and that coveted crispy exterior on all sides.
- Pairs With Nearly Everything — These wedges work alongside roasted chicken, grilled fish, or a big green salad without stealing the show.
What Makes This Recipe Special
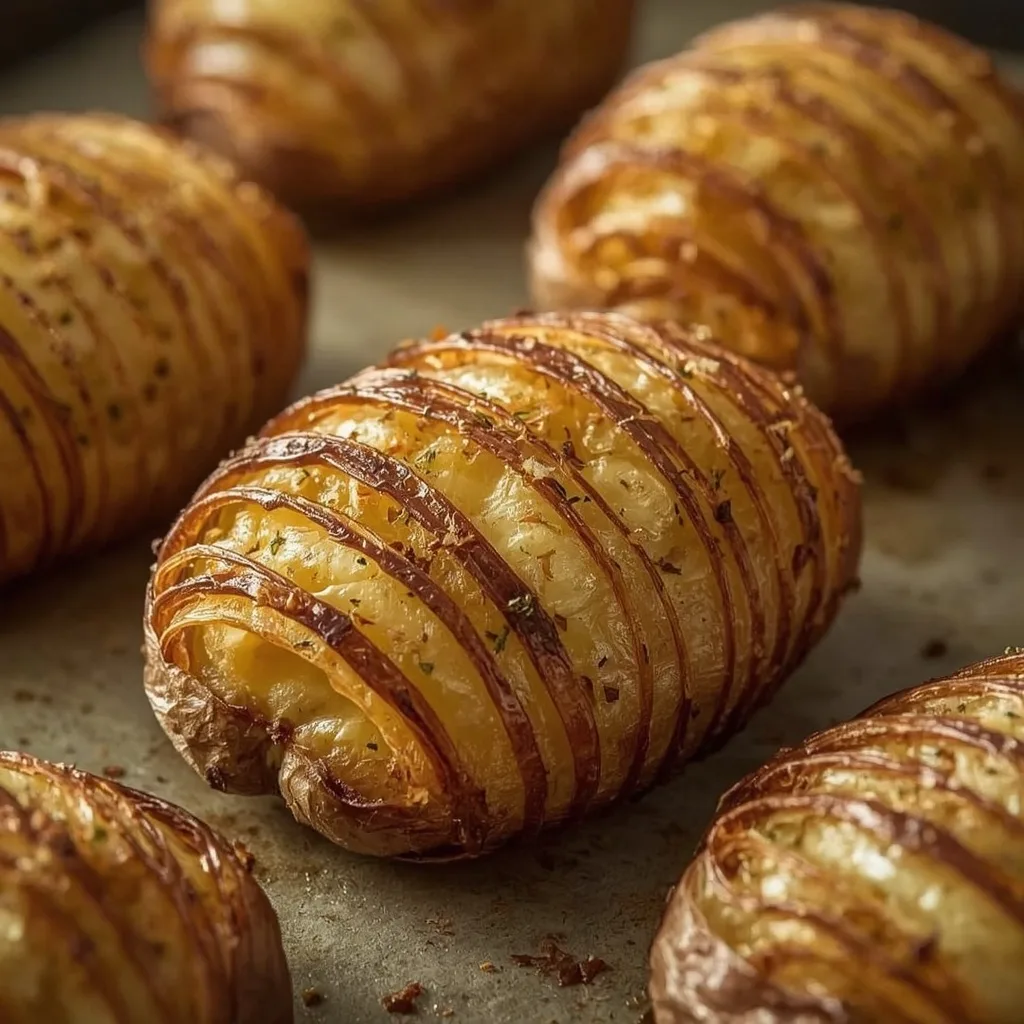
Russet potatoes are the backbone here because their high starch content creates that fluffy interior and shatter-crisp crust. The combination of smoked paprika, dried thyme, and crushed rosemary gives the wedges a warm, savory depth that plain roasted potatoes just don’t deliver. Each bite has a slightly smoky edge balanced by earthy herbs and a clean salt finish. This side dish suits casual weeknight meals and holiday tables alike.
Ingredients You’ll Need
Ten ingredients stand between you and a plate of irresistible baked wedges. Here is everything the recipe calls for, along with what each component brings to the dish.
Produce and Pantry Staples
- Russet potatoes (2 lb, about 4 medium) — Their high starch content gives you that fluffy, tender interior. Scrubbed and cut into 1-inch wedges with the skin kept on for extra fiber and texture.
- Olive oil (2 tbsp) — Coats the wedges and helps the seasoning stick while promoting even browning. A neutral oil like avocado oil works as a swap if you prefer.
The Seasoning Blend
- Garlic powder (1 tsp) — Adds savory depth without the sharp bite of fresh garlic.
- Onion powder (1 tsp) — Brings a subtle sweetness that rounds out the spice profile.
- Smoked paprika (1 tsp) — Supplies that signature smoky flavor and a beautiful reddish color.
- Dried thyme (1/2 tsp) — Contributes earthy, slightly minty notes that complement the potatoes.
- Dried rosemary, crushed (1/2 tsp) — Gives a piney, aromatic quality that pairs wonderfully with roasted vegetables.
- Kosher salt (1 tsp) — Enhances every other flavor and helps draw out moisture for better crisping.
- Freshly ground black pepper (1/2 tsp) — Adds gentle heat and complexity.
Optional Finish
- Fresh parsley, chopped (1 tbsp) — A bright, fresh garnish that cuts through the richness right before serving.
Equipment Needed
You probably have most of these already. Here is what makes the process smoother.
- Large baking sheet — A rimmed sheet gives you enough surface area for a single layer of wedges. No rim means juices can spill over.
- Parchment paper or silicone baking mat — Prevents sticking and promotes even browning without needing extra oil.
- Large mixing bowl — Gives you room to toss the wedges with the oil and spice mixture without making a mess.
- Clean kitchen towel — Essential for patting the wedges completely dry before coating. Any moisture left behind will steam the potatoes.
- Spatula — Used for flipping the wedges halfway through baking to ensure even crispiness.
Instructions to Prepare Healthy Mary Brown’s Taters (Baked)
The process follows a simple rhythm: prep the potatoes, coat them well, then bake with one flip in the middle. Here is the full breakdown.
- Preheat the Oven — Set your oven to 425°F (218°C) and line a large baking sheet with parchment paper or a silicone baking mat.
- Prep the Potatoes — Wash them thoroughly, then cut into 1-inch thick wedges. Leave the skin on for extra fiber and texture. Pat the wedges completely dry with a clean kitchen towel — this step is non-negotiable for crisp results.
- Mix the Seasoning — In a large bowl, combine the olive oil, garlic powder, onion powder, smoked paprika, dried thyme, crushed rosemary, kosher salt, and black pepper. Whisk until everything is well blended.
- Coat the Wedges — Add the potato wedges to the bowl and toss with a spatula or your hands until every piece is evenly coated. Make sure no dry spots remain — bare patches will bake up pale and bland.
- Arrange on the Sheet — Lay the wedges in a single layer with space between each one. Crowding traps steam and ruins crispiness.
- Bake the First Side — Place the sheet on the middle rack and bake for 25 minutes.
- Flip and Finish — Remove the sheet, flip each wedge with a spatula, then return to the oven for another 15–20 minutes until golden brown and easily pierced with a fork. Total bake time lands between 40–45 minutes depending on wedge size.
- Optional Broil — For extra crispy edges, switch to broil for the final 2–3 minutes. Watch closely to prevent burning.
- Rest and Serve — Let the taters rest on the hot baking sheet for 2 minutes. This helps the exterior set further. Transfer to a platter, sprinkle with parsley if using, and serve hot.
Expert Tips for a Standout Healthy Mary Brown’s Taters (Baked)
Small adjustments during prep make a big difference in the final texture. These are the tips that matter most.
- Dry the wedges thoroughly — Any surface moisture turns to steam in the oven, which keeps the exterior from crisping. If needed, pat them again right before adding the oil.
- Flip with a thin spatula — A flexible metal spatula slides under the wedges without breaking the crust. Pressing down or scraping can tear the potato flesh.
- Check at the 20-minute mark — Ovens vary, and smaller wedges cook faster. Start checking for doneness a few minutes early so you don’t overcook them into dry, hard chunks.
- Let the oil bind the spices — Whisk the oil and seasonings together before adding the potatoes. This ensures the spices are distributed evenly rather than clumping on a few pieces.
- Cut uniform wedges — Aim for roughly equal thickness so everything cooks at the same rate. Ragged, uneven pieces will either burn or stay undercooked.
- Use the middle rack — The middle position allows heat to circulate evenly around the wedges. Placing the sheet too close to the top can cause uneven browning.
Common Mistakes to Avoid
A few predictable errors cause most crispy potato failures. Here is what to steer clear of.
- Skipping the drying step — That quick pat with a towel takes less than a minute but completely changes the texture. Moisture is the enemy of crispiness.
- Crowding the baking sheet — The wedges need breathing room to roast rather than steam. Use two sheets if you have to, rotating their positions halfway through.
- Flipping too early — Wait the full 25 minutes before the flip. The first side needs time to develop a proper golden crust — flipping too soon breaks it apart.
- Undersalting the seasoning mix — Potatoes soak up salt better after baking, not while resting. You want the salt in the spice blend so it seasons from the inside out.
- Storing in a sealed container while still hot — Hot potatoes release steam that condenses back onto the surface, instantly destroying crispness. Cool them completely before refrigerating.
Variations & Ways to Customize Healthy Mary Brown’s Taters (Baked)
This base recipe welcomes plenty of tweaks. Here are some ideas to make it your own.
- Spicy Version — Add 1/2 teaspoon of cayenne pepper or a pinch of chili flakes to the seasoning mix for a pleasant kick.
- Herb-Heavy Take — Increase the dried thyme and rosemary by an extra 1/4 teaspoon each, or swap in fresh herbs for a brighter flavor profile.
- Cheesy Finish — Sprinkle 1/2 cup of grated Parmesan over the wedges during the last 5 minutes of baking for a salty, nutty crust.
- Lemon Zest Addition — Toss the finished taters with a teaspoon of lemon zest and a squeeze of fresh juice for a bright, tangy contrast.
- Sweet Potato Swap — Substitute the russet potatoes with an equal weight of sweet potatoes. Adjust the baking time slightly since they tend to cook a bit faster.
What to Serve With Healthy Mary Brown’s Taters (Baked)
These wedges are versatile enough to complement a wide range of main dishes. Here are some pairing ideas that work particularly well.
- Grilled Chicken Breast — The smoky paprika in the taters echoes the char from the grill, creating a cohesive plate.
- Roasted Salmon — The crispy potatoes balance the rich, flaky fish with their hearty texture and savory seasoning.
- Garden Salad — A crisp, lemony salad with fresh greens cuts through the warmth and saltiness of the wedges.
- Baked Tofu or Tempeh — A plant-based protein with a garlicky marinade holds its own alongside these boldly seasoned potatoes.
- Garlic Green Beans — Sautéed green beans with a hint of garlic make a colorful, nutrient-dense companion.
- Coleslaw — The cool, creamy crunch of coleslaw provides a refreshing contrast to the hot, crispy potatoes.
Make-Ahead Instructions
This dish works well for meal prep if you handle it correctly. Here is how to get ahead without sacrificing texture.
- Cut the Wedges in Advance — Prep the potatoes up to 24 hours ahead and store them in a bowl of cold water in the refrigerator. Pat dry thoroughly before coating with oil and spices.
- Mix the Seasoning Blend — Combine the dry spices in a small jar and store in a cool, dark place for up to 1 month. Then just add oil when you are ready to bake.
- Bake Then Reheat — Fully baked taters can be refrigerated for up to 3 days. Reheat them in a 400°F (200°C) oven for 8–10 minutes to restore the crisp exterior.
- Freeze for Later — Place cooled taters in a single layer on a baking sheet, freeze for 2 hours, then transfer to a freezer-safe bag. They keep for up to 3 months.
Storage and Reheating
Proper storage keeps these wedges tasty for days. Here is what you need to know.
Storage
- Airtight Container — Store leftover taters in an airtight container in the refrigerator for up to 3 days. Cool completely before sealing to prevent condensation.
- Lined Container — Place a paper towel at the bottom of the container to catch excess moisture and keep the wedges from getting soggy.
- Freezer Bag — For longer storage, transfer fully cooled taters to a freezer-safe bag after the initial flash freeze. Remove as much air as possible before sealing.
Reheating
- Oven Method — Preheat to 400°F (200°C) and spread the taters on a baking sheet. Heat for 8–10 minutes until hot and crispy again.
- Air Fryer Option — Heat at 375°F (190°C) for 5–7 minutes, shaking the basket halfway through. This works great for restoring crispiness quickly.
- Stovetop Skillet — Heat a thin layer of oil in a skillet over medium heat and sauté the taters for 5–6 minutes, turning occasionally until warmed through.
- Microwave Avoidance — Skip the microwave entirely. It turns the crispy exterior into a soft, rubbery mess that no one wants.
Nutritional Breakdown (Per Serving)
Based on 1 serving out of 4 total servings, assuming the garnish is included.
- Calories — 220
- Protein — 4g
- Fat — about 7g
- Carbohydrates — 38g
- Fiber — about 4g
- Sugar — around 2g
- Sodium — roughly 590mg
Frequently Asked Questions
Can I freeze Healthy Mary Brown’s Taters (Baked)?
Yes, absolutely. Cool the taters completely, flash freeze them on a baking sheet for 2 hours, then transfer to a freezer-safe bag. They will keep for up to 3 months and reheat beautifully in the oven or air fryer.
How long does Healthy Mary Brown’s Taters (Baked) last in the fridge?
Stored in an airtight container in the refrigerator, they stay fresh for up to 3 days. The texture does soften slightly with storage, but reheating in the oven restores most of the crispiness.
Why are my baked potatoes not getting crispy?
Most likely, you left moisture on the wedges before baking or you crowded the baking sheet. Make sure the potatoes are completely dry and leave space between each wedge so hot air can circulate.
Can I use a different type of potato?
Russet potatoes give the best texture, but Yukon Golds work well too. They have slightly less starch, so the interior will be a bit more dense but still delicious.
Do I need to peel the potatoes?
No, and I recommend leaving the skin on. The skin adds extra fiber, holds the wedges together during baking, and gets deliciously crispy with the seasoning.
More Recipes
Final Words
Healthy Mary Brown’s Taters (Baked) deliver that indulgent, crispy texture you crave from takeout fries without the excess oil and guilt. With just a few simple ingredients and about 55 minutes of your time, you get a side dish that feels special enough for company yet easy enough for any weeknight. Give these a try — the crispy edges and fluffy centers might just become your new favorite way to enjoy potatoes.
PrintHealthy Mary Brown’s Taters (Baked)

These crispy, golden baked potatoes are seasoned with a savory blend of herbs and spices, delivering all the comfort of classic taters with a fraction of the oil. The exterior crisps beautifully while the inside stays fluffy and tender, making them a perfect healthy side dish for any meal.
- Prep Time: 10
- Cook Time: 45
- Total Time: 55
- Yield: 4 1x
- Category: Side Dish
- Method: Baking
- Cuisine: American
Ingredients
- 2 lb (about 4 medium) russet potatoes, scrubbed and cut into 1-inch wedges
- 2 tbsp olive oil
- 1 tsp garlic powder
- 1 tsp onion powder
- 1 tsp smoked paprika
- 1/2 tsp dried thyme
- 1/2 tsp dried rosemary, crushed
- 1 tsp kosher salt
- 1/2 tsp freshly ground black pepper
- 1 tbsp fresh parsley, chopped (for garnish, optional)
Instructions
- Preheat your oven to 425°F (218°C). Line a large baking sheet with parchment paper or a silicone baking mat to prevent sticking and ensure even browning.
- Wash the potatoes thoroughly and cut them into 1-inch thick wedges. Keep the skin on for extra fiber and texture. Pat the wedges completely dry with a clean kitchen towel—moisture will steam the potatoes instead of crisping them.
- In a large bowl, combine the olive oil, garlic powder, onion powder, smoked paprika, dried thyme, dried rosemary, kosher salt, and black pepper. Whisk until well blended.
- Add the potato wedges to the bowl and toss with a spatula or your hands until every piece is evenly coated with the oil and spice mixture. Make sure no dry spots remain.
- Arrange the wedges in a single layer on the prepared baking sheet. Leave space between each wedge so they roast rather than steam—crowding will prevent crispiness.
- Place the baking sheet on the middle rack of the preheated oven. Bake for 25 minutes, then remove the sheet from the oven and use a spatula to flip each wedge over. This ensures even browning on all sides.
- Return the sheet to the oven and continue baking for another 15–20 minutes, until the potatoes are golden brown and crispy on the outside and easily pierced with a fork. The total bake time should be 40–45 minutes depending on the size of your wedges.
- If you prefer extra crispy edges, you can switch the oven to broil for the final 2–3 minutes, watching closely to prevent burning.
- Remove the baked taters from the oven and let them rest on the hot baking sheet for 2 minutes. This helps the exterior set and crisp up further.
- Transfer the potatoes to a serving platter. Sprinkle with fresh chopped parsley if using, and serve hot. These are best enjoyed immediately while the outside is crispy and the inside is fluffy.
Notes
Storage: Store leftover baked taters in an airtight container in the refrigerator for up to 3 days. Freezing: Place cooled taters in a single layer on a baking sheet, freeze for 2 hours, then transfer to a freezer-safe bag for up to 3 months. Reheating: For best crispiness, reheat in a preheated 400°F (200°C) oven for 8–10 minutes. Avoid microwaving as it will make them soggy.
Nutrition
- Calories: 220
- Sugar: 2g
- Sodium: 590mg
- Unsaturated Fat: 1g
- Carbohydrates: 38g
- Fiber: 4g
- Protein: 4g
- Cholesterol: 0mg
Keywords: healthy baked potatoes, crispy taters, Mary Brown’s taters, baked potato wedges, roasted potatoes, healthy side dish, vegan potato recipe, gluten-free potatoes, easy baked potatoes, oven roasted potatoes