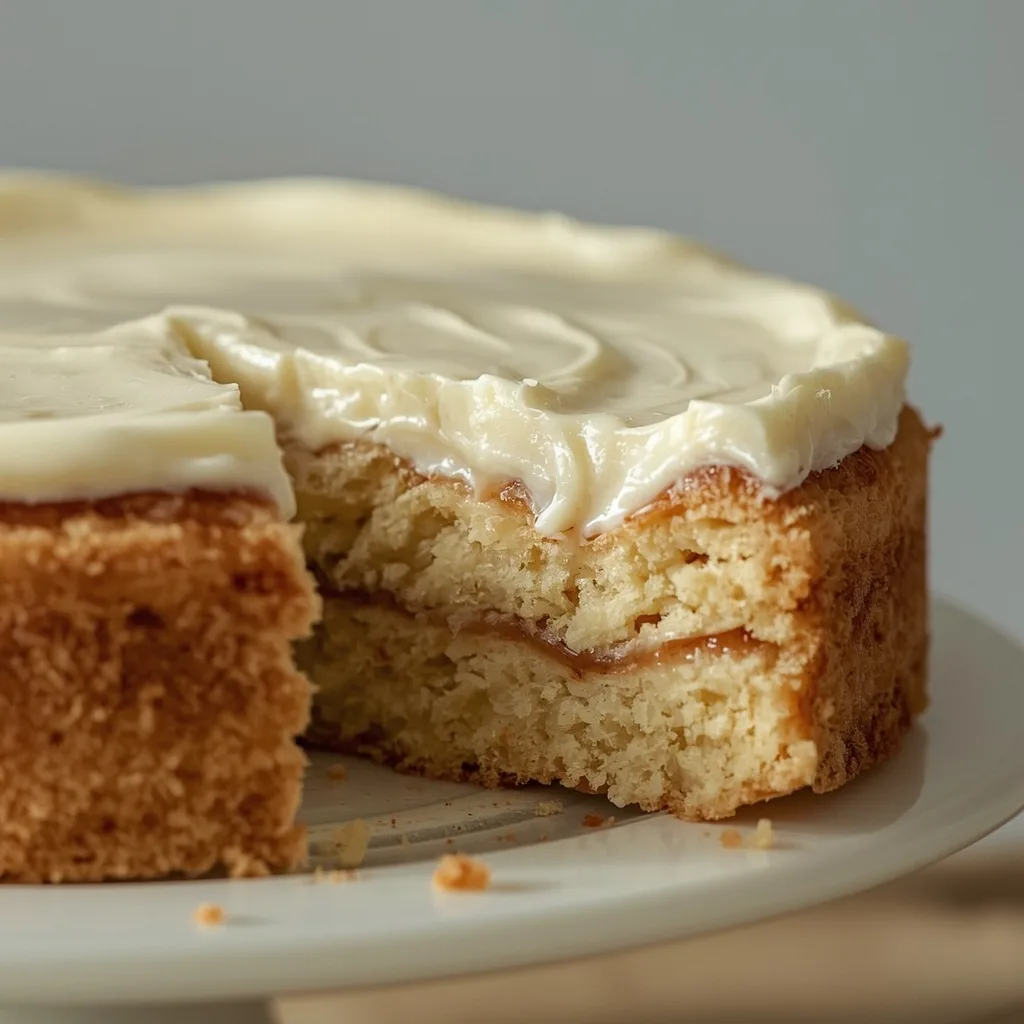
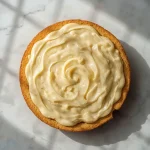
Gooey Butter Cake is a St. Louis classic with a buttery, tender crust topped with a rich, creamy, and slightly tangy cream cheese layer. The contrast between the crisp bottom and the soft, luscious center makes every bite irresistible.
Total time is about 50 minutes, and the skill level is beginner-friendly. This dessert works beautifully for potlucks, holiday gatherings, or a simple weekend treat. The only tricky part is not overbaking—the center should still jiggle when you pull it out of the oven.
Why You’ll Love This Gooey Butter Cake Recipe
- Simple ingredients — You probably already have flour, sugar, butter, and cream cheese in your kitchen. No fancy extracts or hard‑to‑find items.
- Foolproof method — The crust presses in easily, and the topping comes together in one bowl. Even if you’re new to baking, you’ll get great results.
- Perfect texture contrast — The bottom is firm and almost shortbread‑like, while the top stays gooey and creamy. That two‑layer bite is what makes it so addictive.
What Makes This Gooey Butter Cake Recipe Special
A generous amount of cream cheese and melted butter creates the signature gooey center. The crust is simply flour, sugar, and butter pressed into the pan — no rolling or chilling required. The finished cake tastes rich and buttery with a subtle tang, and the center stays soft enough to almost melt on your tongue. It’s a dessert that feels decadent but comes together faster than most layer cakes.
Ingredients You’ll Need
Here’s everything you need to make this recipe. Measure carefully — small changes can affect the texture.
For the Crust
- 1/2 cup all‑purpose flour — Provides structure without making the base tough. Spoon and level for accuracy.
- 1/4 cup granulated sugar — Adds sweetness and helps the crust brown lightly.
- 1/4 tsp kosher salt — Balances the sweetness and brings out the butter flavor.
- 1/4 cup unsalted butter, melted — Binds the crust and gives it that rich, shortbread‑like texture.
- 1/4 tsp vanilla extract — Enhances the overall flavor without overpowering.
For the Filling
- 4 oz cream cheese, softened (full‑fat) — The star of the gooey layer. Full‑fat is essential for the right richness and stability.
- 1/4 cup unsalted butter, melted — Adds richness and helps the topping stay creamy.
- 1/2 cup granulated sugar — Sweetens the filling enough to offset the tanginess of the cream cheese.
- 1 large egg, at room temperature — Binds the filling and gives it structure. Cold egg can cause the batter to seize.
- 1/2 tsp vanilla extract — Rounds out the flavor profile.
- 1/2 tsp fresh lemon juice (optional) — A tiny splash brightens the cream cheese flavor and cuts the sweetness.
- 1 tbsp all‑purpose flour — Stabilizes the filling so it stays gooey rather than turning runny.
Equipment Needed
- 6‑inch round cake pan or 8×4‑inch loaf pan — The pan size matters for the right thickness. A smaller pan gives thicker layers; a larger pan will make them too thin.
- Parchment paper — Lining the bottom makes removal easy. Cut a circle or strip to fit your pan.
- Electric hand mixer or stand mixer with paddle attachment — Beating the cream cheese by hand is possible but tiring. A mixer ensures a smooth, fluffy result.
- Medium and large mixing bowls — One for the crust, one for the filling.
- Rubber spatula — Helps scrape down the bowl and spread the topping evenly.
Instructions to Prepare Gooey Butter Cake
Follow these steps closely. The order matters, especially for the filling where overbeating can cause issues.
- Preheat and prep — Preheat oven to 350°F (177°C). Grease your 6‑inch round or 8×4‑inch loaf pan with butter or spray. Line the bottom with parchment for easy removal.
- Make the crust — In a medium bowl, whisk together 1/2 cup flour, 1/4 cup sugar, and a pinch of salt. Pour in 4 tablespoons melted butter and 1/4 teaspoon vanilla. Stir with a fork until the mixture looks like coarse crumbs.
- Press the crust — Transfer the crumbs into the pan and press firmly with the bottom of a measuring cup or your fingers. An even, compact layer creates a sturdy base that won’t crumble when sliced.
- Beat the cream cheese — In a large bowl, beat 4 oz softened cream cheese on medium speed until smooth and fluffy, about 1 minute. Scrape down the bowl.
- Add butter and sugar — Add 4 tablespoons melted butter and 1/2 cup sugar. Beat on medium‑high until light in color and well combined, about 2 minutes.
- Mix in egg, vanilla, and lemon juice — Add the egg, 1/2 teaspoon vanilla, and lemon juice (if using). Beat on low just until combined, then increase to medium for 30 seconds. Do not overbeat — too much air can make the topping puff and collapse.
- Add flour — Sprinkle 1 tablespoon flour over the mixture and beat on low until just incorporated. The flour prevents the filling from becoming too runny.
- Assemble and bake — Pour the filling over the crust and spread evenly. Bake 25–30 minutes until the edges are set and lightly golden, but the center still jiggles. A toothpick 1 inch from the edge should come out clean. Do not overbake.
- Cool completely — Place the pan on a wire rack and cool for at least 1 hour. For the cleanest slices, refrigerate for another 2 hours before serving.
- Remove and serve — Run a thin knife around the edge, invert onto a plate, or lift out using the parchment. Cut into 4 wedges or bars. Dust with powdered sugar if you like.
Expert Tips for a Standout Gooey Butter Cake
A few small adjustments can make a big difference. These tips come from testing the recipe several times to get the texture just right.
- Use room‑temperature cream cheese — Cold cream cheese won’t beat smoothly, leaving lumps in the filling. Let it sit on the counter for 30 minutes before you start.
- Compact the crust firmly — A loose crust will crumble when you try to lift the cake. Press it down with serious pressure, especially at the edges.
- Don’t skip the lemon juice — Even though it’s optional, the tiny amount brightens the cream cheese flavor and helps balance the sweetness. Try it.
- Watch the baking time closely — The difference between gooey perfection and a dry cake is about 2 minutes. Start checking at 25 minutes, and pull it out as soon as the center still wobbles.
- Chill before slicing — Warm cake is too soft to cut cleanly. Refrigerating for 2 hours firms up the filling so you get neat bars or wedges.
- Line with parchment — Greasing alone isn’t enough; the filling can stick. A parchment sling makes lifting the cake out effortless.
- Measure flour by weight if possible — Flour settles in the cup, so weighing (60g for 1/2 cup) gives the most consistent results. If using measuring cups, spoon it in and level off.
Common Mistakes to Avoid
These pitfalls are easy to fall into, but each one has a simple fix. Learn from my trial and error.
- Overbaking the cake — The biggest mistake. If the center doesn’t jiggle, the filling will set into a dense, dry layer. Pull it out when the edges are golden but the middle still trembles.
- Using cold cream cheese — Cold cream cheese won’t blend smoothly, leaving white lumps throughout the filling. Let it soften fully before mixing.
- Overbeating the filling — Too much air incorporation causes the topping to puff up in the oven and then sink, creating a cracked, uneven surface. Mix on low once the egg goes in.
- Skipping the parchment — The filling is sticky, and even a well‑greased pan can cause sticking. The cake will tear when you try to remove it. Always line with parchment.
- Not cooling long enough — Slicing into a warm cake results in a messy, gooey puddle. Be patient — let it cool completely, then refrigerate for clean cuts.
- Substituting low‑fat cream cheese — Low‑fat versions have more water and less fat, which makes the filling runny and less rich. Stick with full‑fat for the classic texture.
Variations & Ways to Customize Gooey Butter Cake
Once you master the basic recipe, these twists let you change the flavor without breaking the method.
- Citrus variation — Replace the lemon juice with 1/2 teaspoon orange zest and a splash of orange extract. The citrus pairs beautifully with the cream cheese.
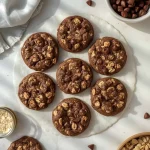
- Chocolate swirl — Melt 2 tablespoons of dark chocolate and drizzle it into the filling before baking. Swirl gently with a knife for a marbled effect.
- Berry topping — Drop 1/4 cup fresh raspberries or blueberries onto the filling before baking. The fruit sinks partly into the gooey layer and adds a tart pop.
- Spiced crust — Add 1/4 teaspoon cinnamon or nutmeg to the crust mixture. It gives the base a warm, cozy flavor that complements the tangy topping.
- Gluten‑free adaptation — Use a 1:1 gluten‑free all‑purpose flour blend (with xanthan gum). The crust will be slightly more delicate, but the flavor stays true.
- Mini version — Divide the crust and filling into four 4‑ounce ramekins. Bake for 18–20 minutes. Perfect for individual servings at a dinner party.
What to Serve With Gooey Butter Cake
This cake is rich enough to stand alone, but a few accompaniments can turn it into a full dessert experience.
- Fresh berries and whipped cream — The tartness of raspberries or sliced strawberries cuts through the sweetness. A dollop of lightly sweetened whipped cream adds airiness.
- Strong black coffee or espresso — The bitterness of coffee balances the buttery richness. A small espresso after the meal works perfectly.
- Vanilla ice cream — A scoop of plain vanilla ice cream melts into the warm cake, creating a creamy, cold‑hot contrast. Classic and irresistible.
- Dusting of powdered sugar — A simple dusting adds a touch of elegance and a tiny bit of extra sweetness. It also hides any imperfections on top.
- Caramel sauce drizzle — Warm salted caramel poured over each slice takes the indulgence to another level. The saltiness plays against the sweet cream cheese.
- Mint tea or herbal infusion — A light, refreshing tea like peppermint or chamomile cleanses the palate between bites. Great option for an afternoon treat.
Make-Ahead Instructions
This cake actually tastes better after a day in the fridge. Here’s how to prep ahead without sacrificing quality.
- Bake one day ahead — Make the cake as directed, cool completely, then wrap the pan tightly with plastic wrap and refrigerate. The flavors meld and the texture firms up beautifully.
- Freeze the baked cake — Once fully cooled, wrap the whole cake (still in the pan or removed) in plastic wrap, then a layer of foil. Freeze for up to 3 months. Thaw overnight in the fridge.
- Prepare the crust in advance — Press the crust into the pan, wrap it, and refrigerate for up to 2 days. Add the filling and bake right before serving. The crust stays fresh.
- Make and freeze individual slices — Slice the chilled cake, wrap each piece in plastic, and store in a freezer bag. Great for grabbing a single serving when a craving hits.
Storage and Reheating
Storage
- At room temperature — Store in an airtight container for up to 3 days. Keep it away from direct sunlight or heat.
- In the refrigerator — For longer storage (up to 1 week), place the cake in an airtight container. The fridge firms the filling, so let slices sit out for 10 minutes before serving if you prefer a softer texture.
- Freezer storage — Wrap the cooled cake tightly in plastic wrap, then foil. Freeze up to 3 months. Thaw in the refrigerator overnight before reheating.
Reheating
- Microwave — Place a single slice on a plate and microwave for 10–15 seconds. The center will become warm and gooey again without drying out.
- Oven — For multiple slices, warm them in a 300°F (149°C) oven for 5–7 minutes. Cover loosely with foil to avoid over‑browning the crust.
- Air fryer — Heat a slice at 300°F (149°C) for 3–4 minutes. The edges get a little crisp while the center stays soft. Check after 3 minutes.
- Stovetop (not recommended) — The cake is too delicate for direct heat. Stick to microwave or oven for best results.
Nutritional Breakdown (Per Serving)
Based on 1 serving = 1 of 4 total slices
- Calories: 485
- Protein: 6g
- Fat: 34g
- Carbohydrates: 39g
- Fiber: 0g
- Sugar: 26g
- Sodium: 139mg
- Cholesterol: around 120mg
Frequently Asked Questions
Can I freeze Gooey Butter Cake?
Yes. Wrap the baked and cooled cake tightly in plastic wrap and foil, then freeze for up to 3 months. Thaw overnight in the fridge before reheating gently.
How long does Gooey Butter Cake last in the fridge?
Stored in an airtight container, it stays fresh for up to 1 week. The texture becomes denser as it chills, but reheating a slice brings back the gooey center.
Can I use a different pan size?
You can use an 8×4‑inch loaf pan or a 6‑inch round pan as directed. A larger pan will make the layers thinner. If using an 8‑inch square pan, double the recipe for proper thickness.
Why did my filling crack on top?
Overbeating the filling after adding the egg introduces too much air, causing the top to puff and then crack as it cools. Mix on low speed once the egg goes in.
Can I substitute the cream cheese for a lighter version?
I don’t recommend it. Low‑fat cream cheese has more water and less fat, resulting in a runny, less flavorful filling. Full‑fat cream cheese is essential for the classic gooey texture.
Why is my crust too crumbly?
The crust may not have been pressed firmly enough. Use the bottom of a measuring cup to compact it tightly against the pan. Also ensure the butter is fully melted and mixed into the dry ingredients.
Final Words
Gooey Butter Cake is one of those desserts that looks impressive but actually comes together with minimal fuss. The combination of a crunchy, buttery base and a silky, tangy topping never fails to get compliments. I hope you give this recipe a try — you’ll love how quickly it disappears from the plate.
Similar Recipes
PrintGooey Butter Cake
This St. Louis classic combines a buttery, tender crust with a rich, creamy, and slightly tangy cream cheese topping that bakes into a gooey, melt-in-your-mouth center. The contrast between the crisp bottom and soft, luscious top makes every bite irresistible.
- Prep Time: 20
- Cook Time: 30
- Total Time: 50
- Yield: 4 1x
- Category: Dessert
- Method: Baking
- Cuisine: American
Ingredients
- 1/2 cup all-purpose flour
- 1/4 cup granulated sugar
- 1/4 tsp kosher salt
- 1/4 cup unsalted butter, melted (4 tbsp)
- 1/4 tsp vanilla extract
- 4 oz cream cheese, softened (full-fat)
- 1/4 cup unsalted butter, melted (4 tbsp)
- 1/2 cup granulated sugar
- 1 large egg, at room temperature
- 1/2 tsp vanilla extract
- 1/2 tsp fresh lemon juice (optional)
- 1 tbsp all-purpose flour
Instructions
- Preheat the oven to 350°F (177°C). Lightly grease a 6-inch round cake pan or an 8×4-inch loaf pan with butter or nonstick spray. For easier removal, line the bottom with a parchment paper circle or strip.
- Make the crust: In a medium bowl, whisk together 1/2 cup all-purpose flour, 1/4 cup granulated sugar, and a pinch of kosher salt. Pour in 4 tablespoons (1/4 cup) melted unsalted butter and 1/4 teaspoon vanilla extract. Stir with a fork until the mixture resembles coarse crumbs with no dry flour.
- Press the crust mixture evenly into the bottom of the prepared pan. Use the bottom of a measuring cup or your fingers to compact it firmly, ensuring an even layer. This creates a sturdy base that will hold the gooey topping.
- Make the gooey layer: In a large bowl, with an electric hand mixer or stand mixer fitted with the paddle attachment, beat 4 oz softened cream cheese on medium speed until smooth and fluffy, about 1 minute. Scrape down the sides and bottom of the bowl.
- Add 1/4 cup (4 tablespoons) melted unsalted butter and 1/2 cup granulated sugar. Beat on medium-high speed until well combined and lightened in color, about 2 minutes. The mixture should be smooth and slightly aerated.
- Add 1 large egg, 1/2 teaspoon vanilla extract, and 1/2 teaspoon lemon juice (if using). Beat on low speed until just incorporated, then increase to medium for 30 seconds. Do not overbeat, as excess air can cause the topping to puff too much and then collapse.
- Sprinkle 1 tablespoon all-purpose flour over the mixture and beat on low just until combined. The flour helps stabilize the topping so it stays gooey rather than becoming runny.
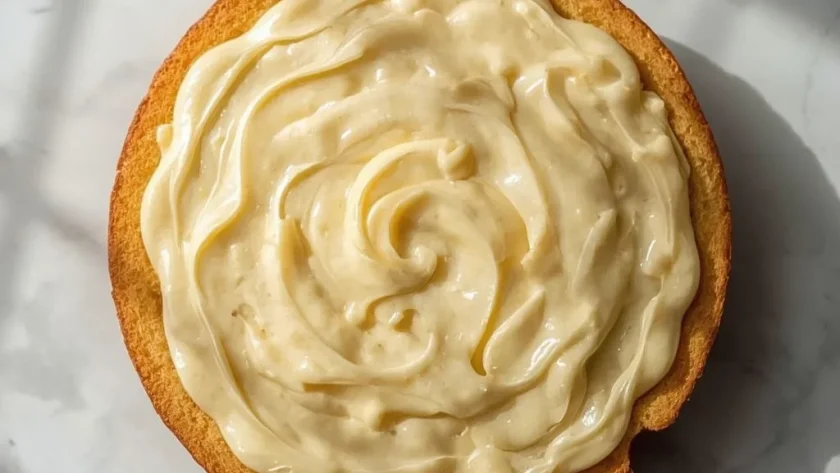
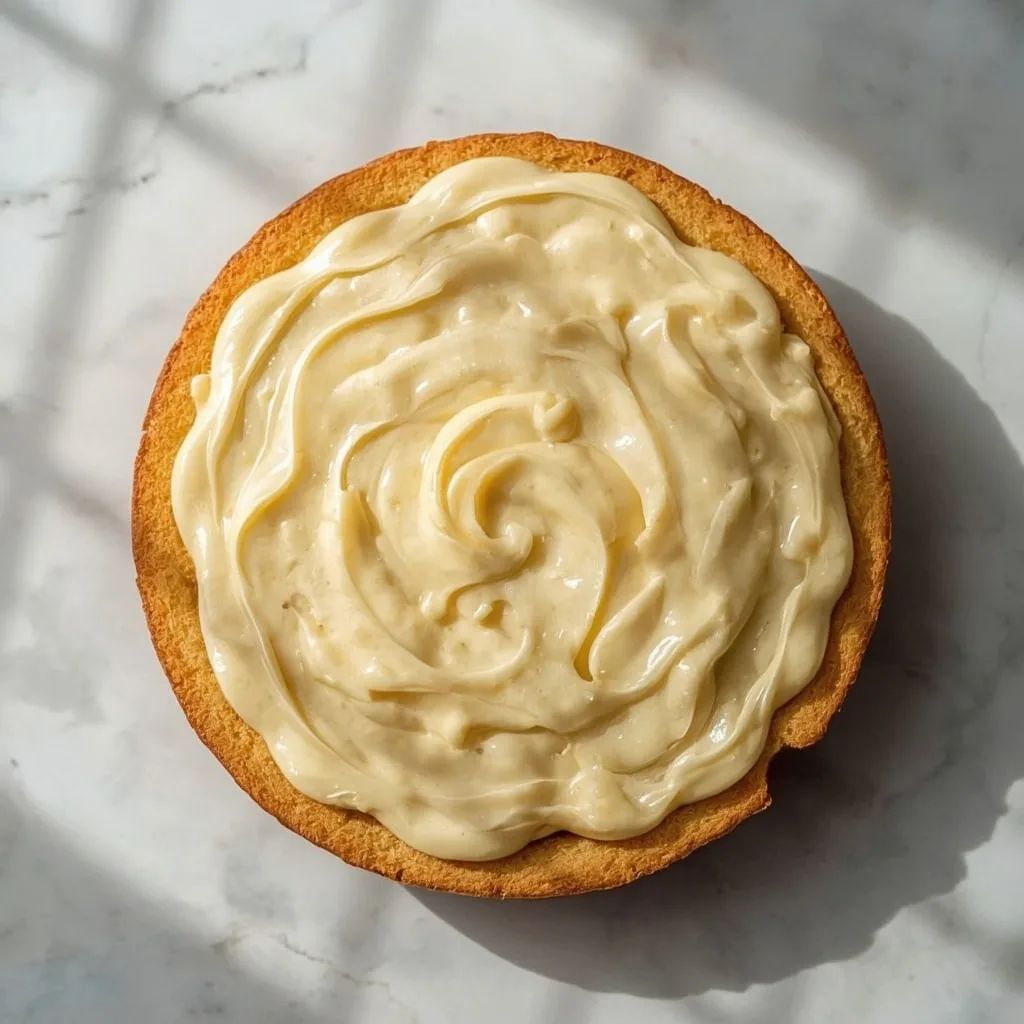
- Pour the cream cheese mixture over the prepared crust. Use a spatula to spread it evenly to the edges. The layer should be about 1/2-inch thick.
- Bake in the preheated oven for 25-30 minutes, until the edges are set and lightly golden, but the center still jiggles slightly when the pan is gently shaken. A toothpick inserted 1 inch from the edge should come out clean; the center will remain soft. Do not overbake, or the gooey texture will be lost.
- Remove from the oven and place on a wire rack. Let cool completely in the pan, about 1 hour. The cake will continue to set as it cools. For best texture, refrigerate for at least 2 hours before slicing, as this makes the cake easier to cut cleanly.
- To serve, run a thin knife around the edge of the pan, then invert onto a plate or lift out using parchment sling. Cut into 4 wedges or bars. Dust with powdered sugar if desired.
- Store leftovers in an airtight container at room temperature for up to 3 days or refrigerate for up to 1 week. For a warm, gooey treat, microwave individual slices for 10-15 seconds before serving.
Notes
Storage: Store in an airtight container at room temperature for up to 3 days, or refrigerate for up to 1 week. Reheating: Microwave individual slices for 10-15 seconds until just warm. Freezing: Wrap the baked cake tightly in plastic wrap and foil, then freeze for up to 3 months. Thaw overnight in the refrigerator before reheating gently.
Nutrition
- Calories: 485
- Sugar: 26g
- Sodium: 139mg
- Unsaturated Fat: 21g
- Carbohydrates: 39g
- Fiber: 0g
- Protein: 6g
- Cholesterol: 136mg
Keywords: gooey butter cake, St. Louis gooey butter cake, cream cheese cake, buttery dessert, small batch cake, easy cake recipe, American dessert, rich dessert, baking recipe, homemade cake, classic dessert