 Kendric adan
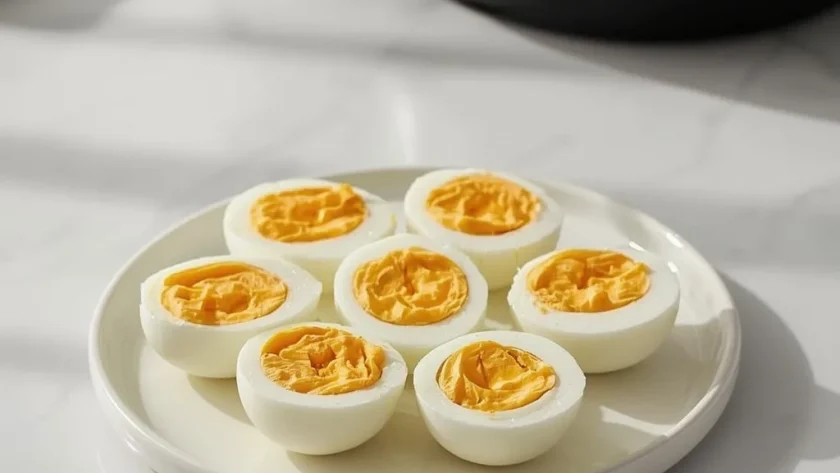
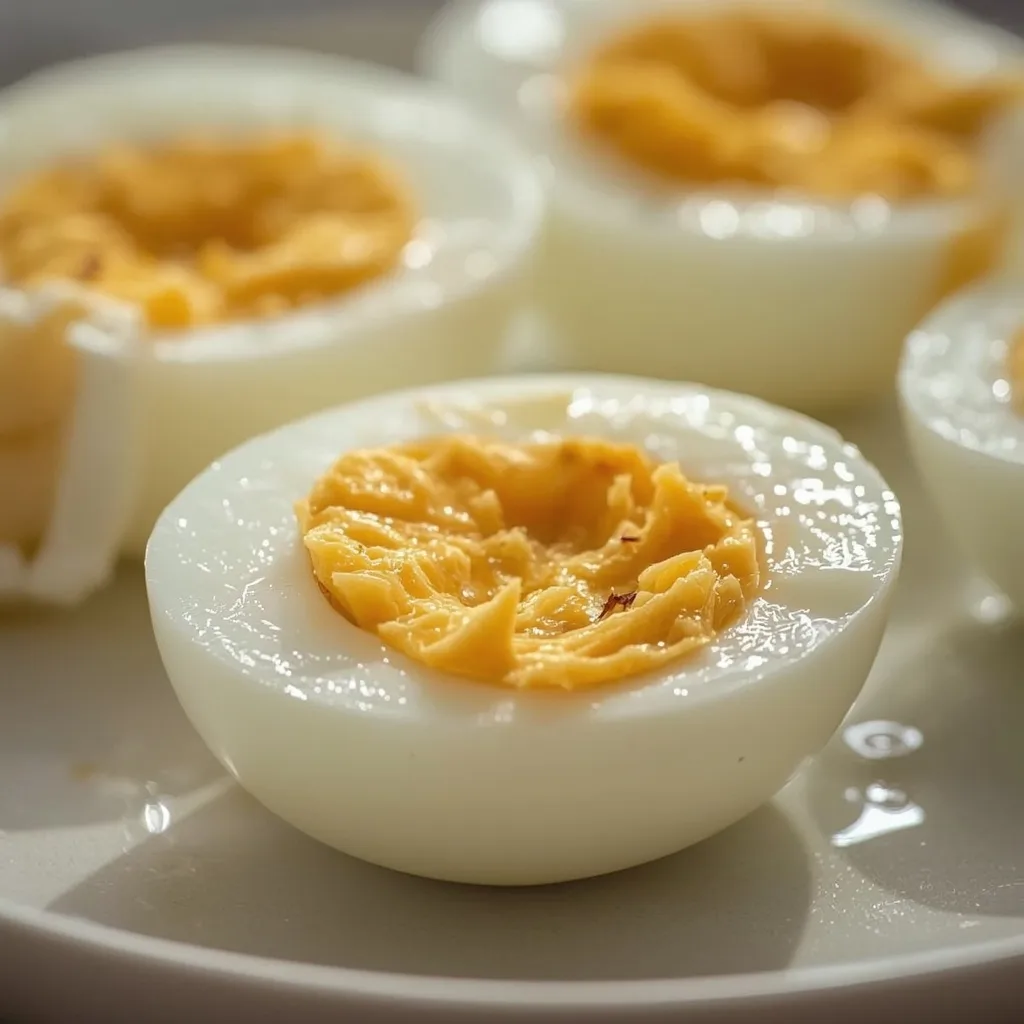
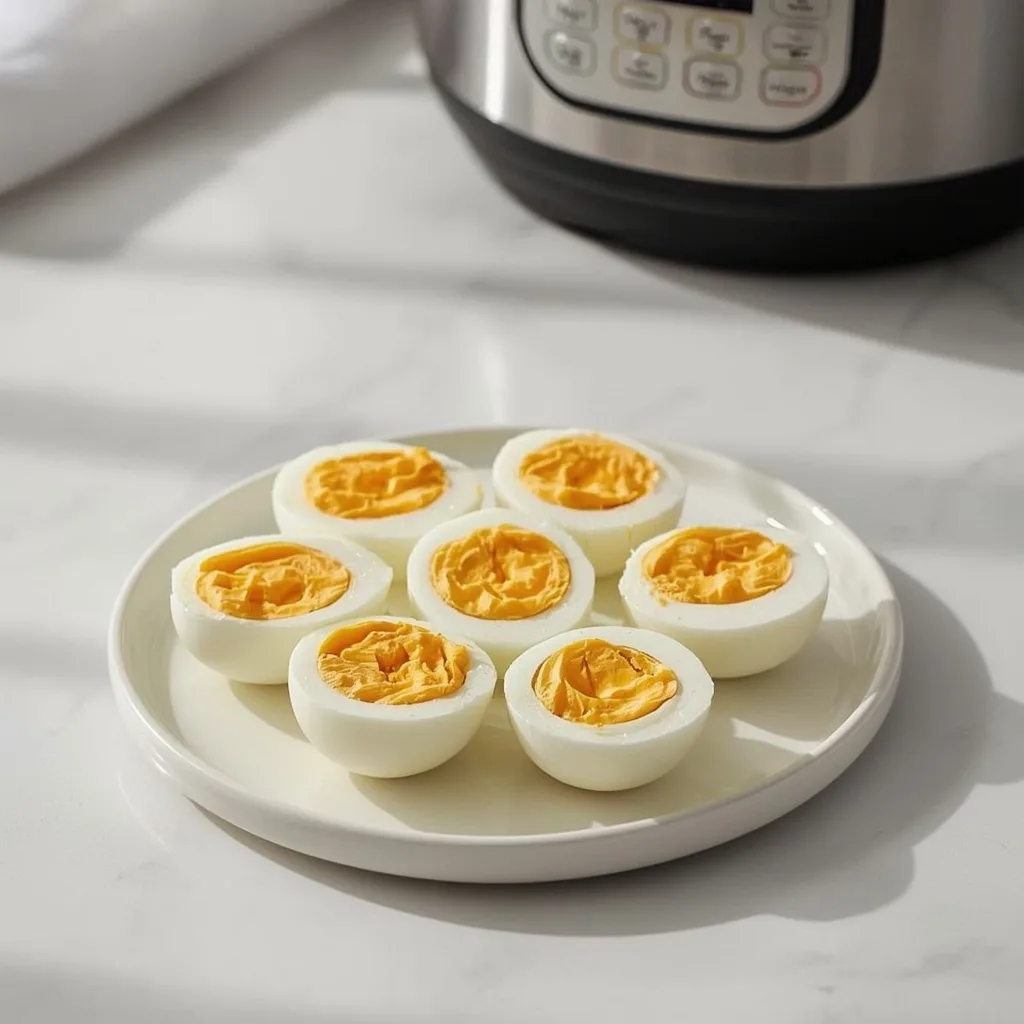
 Hard Boiled Eggs In The Instant Pot come out perfectly every single time with tender whites and creamy, fully set yolks. There is no green ring around the yolk and no sulfur smell, just perfectly cooked eggs that peel like a dream.
The whole process takes about 20 minutes total with only 5 minutes of actual pressure cooking. This recipe is beginner-friendly, and the only tricky part is remembering to do the natural pressure release before the quick release.
Why You’ll Love This Recipe
- No more guessing — The pressure cooker eliminates the need to watch a boiling pot or time eggs by sight.
- Easy peel every time — The steam environment combined with an ice bath makes the shells slide off in large pieces.
- Perfect yolks without the green ring — The precise timing and controlled pressure prevent overcooking that causes that unappealing gray-green ring.
- Meal prep friendly — Cook a batch once and have perfect eggs ready for salads, snacks, or breakfasts all week.
What Makes This Recipe Special
This method uses steam pressure rather than boiling water to cook the eggs, which creates a much more even cooking environment. The whites come out tender without being rubbery, and the yolks stay creamy and fully set rather than chalky or dry. It is the most reliable way I have found to get consistent results from refrigerated eggs.
Ingredients You’ll Need
You only need three simple ingredients for this recipe. Here is what each one does.
For the Eggs
- 4 large eggs (refrigerated) — Large eggs are the standard size for this recipe. Using them cold from the fridge is fine; the pressure cooker handles the temperature change perfectly.
For the Cooking Liquid
- 1 cup cold water — This creates the steam needed to build pressure. The water level should not exceed the trivet so the eggs stay above it.
For the Ice Bath
- Ice cubes — A generous handful is enough to make the water cold enough to stop the cooking process instantly.
Equipment Needed
- Instant Pot (6-quart or larger) — Any size works as long as you use the included trivet. The trivet is essential for keeping eggs out of the water.
- Tongs — Needed to safely transfer hot eggs from the pressure cooker to the ice bath without burning your fingers.
- Large bowl — Big enough to hold 4 eggs fully submerged in ice water. A standard mixing bowl works well.
- Paper towels — For patting peeled eggs dry before use or storage.
Instructions to Prepare Hard Boiled Eggs In The Instant Pot
Follow these steps exactly and you will get perfect results every time. The timing matters, so stick to the minutes listed.
- Set up the pot — Place the trivet inside the Instant Pot insert. Pour 1 cup of cold water into the pot, ensuring the water level does not exceed the trivet. The trivet keeps the eggs elevated and prevents them from resting in the water, which can cause hot spots and uneven cooking.
- Add the eggs — Gently arrange 4 large eggs on the trivet in a single layer, spacing them slightly apart to allow steam to circulate. Avoid stacking eggs, as this can lead to uneven pressure cooking and inconsistent doneness.
- Seal the lid — Secure the lid on the Instant Pot and turn the steam release valve to the Sealing position. This is critical; if the valve is in Venting mode, the pot will not build pressure and the eggs will not cook properly.
- Pressure cook — Press the Pressure Cook (Manual) button and set the timer to 5 minutes at high pressure. For large eggs, 5 minutes yields fully set yolks; for extra-large eggs, increase to 6 minutes. For medium eggs, use 4 minutes. Do not exceed 5 minutes for large eggs, or the yolks may develop a green ring.
- Natural release — Once the cooking cycle ends, allow the pressure to release naturally for 5 minutes. This natural release slowly finishes the cooking and prevents the eggs from overcooking while still steaming inside the pot.
- Quick release remaining pressure — After 5 minutes of natural release, carefully turn the steam release valve to the Venting position to quick-release any remaining pressure. Stand back from the vent, as the escaping steam is very hot.
- Prepare the ice bath — While the pressure releases, prepare an ice bath by filling a large bowl with cold water and adding a generous handful of ice cubes. The ice bath should be deep enough to fully submerge the eggs.
- Shock the eggs — Using tongs, transfer the eggs immediately from the Instant Pot to the ice bath. Let them sit in the ice water for at least 5 minutes to stop the cooking process completely. This step is essential for easy peeling and prevents the gray-green yolk ring.
- Peel the eggs — To peel, gently tap each egg on a hard surface to crack the shell, then roll it between your palms to loosen the shell. Peel under a thin stream of cool water to help slip the shell off cleanly. The shell should come off in large pieces with minimal sticking.
- Pat dry and serve — Pat the peeled eggs dry with a paper towel. Use immediately for salads, deviled eggs, or snacking, or store unpeeled in the refrigerator to maintain freshness.
Expert Tips for a Standout Hard Boiled Eggs In The Instant Pot
- Use cold eggs straight from the fridge — Do not let them come to room temperature first. Starting cold helps prevent the yolks from overcooking during the pressurization phase.
- Do not skip the natural release — Those 5 minutes of natural release are what finish cooking the center of the yolk without turning it green or chalky. Quick-releasing immediately would leave undercooked centers.
- Ice bath for a full 5 minutes minimum — The ice bath must be cold enough and long enough to stop carryover cooking. If the eggs are still warm when you start peeling, the shells will stick.
- Store unpeeled for best texture — Keeping the shells on until you are ready to eat keeps the whites from drying out and absorbing fridge odors. They stay fresh for up to a week.
- Peel under running water — The water helps separate the thin membrane from the white, making the shell come off in larger pieces instead of tiny stubborn bits.
- Use older eggs for easier peeling — Eggs that are closer to their expiration date peel more easily than ultra-fresh ones. If you have a choice, use eggs that have been in the fridge for at least a week.
Common Mistakes to Avoid
- Overcrowding the pot — Adding more than 6 eggs at once can cause uneven cooking. The steam needs room to circulate around each egg for consistent results.
- Setting the pressure time too high — Five minutes is plenty for large eggs. Adding extra minutes will give you that green ring and a chalky, sulfur-tasting yolk.
- Forgetting the natural release step — Going straight to quick release after the cooking cycle ends leaves the centers undercooked. The natural release is what finishes the job.
- Skipping the ice bath entirely — Without the ice bath, carryover cooking continues for several minutes. You will end up with overcooked eggs that are harder to peel.
- Peeling while the egg is still warm — Warm eggs have a tighter bond between the shell and the white. Letting them rest in the ice bath for the full 5 minutes makes a noticeable difference.
Variations & Ways to Customize Hard Boiled Eggs In The Instant Pot
- Soft-boiled eggs — Reduce the pressure time to 3 minutes and use a 3-minute natural release instead of 5. The whites will be set but the yolks will stay runny.
- Medium-boiled eggs — Use 4 minutes of pressure time with a 4-minute natural release. The yolks will be slightly soft in the center but mostly set.
- Extra-large eggs — Increase the pressure time to 6 minutes and keep the 5-minute natural release. The larger size needs a bit more time to cook through.
- Seasoned eggs — After peeling, soak the eggs in a mixture of soy sauce, rice vinegar, and water for 30 minutes for a light soy marinade that adds savory flavor.
- Deviled eggs — Slice the peeled eggs in half, scoop out the yolks, and mash them with mayonnaise, mustard, salt, and pepper for a classic appetizer.
What to Serve With Hard Boiled Eggs In The Instant Pot
These eggs are versatile enough to work in many meals. Here are some simple ways to enjoy them.
- Classic egg salad — Roughly chop the eggs and mix with mayonnaise, diced celery, salt, and pepper. Serve on toast or with crackers.
- Green salad topping — Slice the eggs over a bed of mixed greens, cherry tomatoes, cucumber, and your favorite vinaigrette for extra protein.
- Breakfast plate — Pair the eggs with toast, fresh fruit, and a side of roasted potatoes for a filling morning meal.
- Nicoise-inspired bowl — Serve the eggs with canned tuna, blanched green beans, olives, and boiled potatoes for a light lunch.
- Snack with everything bagel seasoning — Halve the eggs, sprinkle with everything bagel seasoning, and enjoy as a quick protein-rich snack.
Make-Ahead Instructions
- Cook and store unpeeled — Cook the eggs, cool them in the ice bath, dry them off, and refrigerate them in their shells. They will keep for up to 7 days with the best texture.
- Peel and store in water — If you prefer peeled eggs, store them submerged in a bowl of cold water in the fridge. Change the water daily to keep them fresh for up to 5 days.
- Batch cook for the week — Cook up to 6 eggs at a time using the same water and trivet setup. Having a batch ready saves time during busy mornings.
Storage and Reheating
Storage
- Unpeeled in the refrigerator — Place the unpeeled eggs in an airtight container. They stay fresh for up to 7 days without absorbing fridge odors.
- Peeled and submerged in water — Store peeled eggs in a bowl of cold water in the fridge. Change the water every day and use within 5 days.
- Freezing not recommended — Hard boiled eggs do not freeze well. The whites become watery and rubbery once thawed.
Reheating
- Warm water bath — Place peeled eggs in a bowl of warm water for 2-3 minutes. This gently warms them without making the whites rubbery.
- Microwave caution — Do not microwave whole hard boiled eggs, as they can explode. If you must use the microwave, slice the egg in half first and heat for 15 seconds only.
- Cold right from the fridge — Many people prefer hard boiled eggs cold. They are great straight from the fridge for salads or snacking without any reheating.
Nutritional Breakdown (Per Serving)
Based on 1 serving = 1 large hard boiled egg.
- Calories: 72
- Protein: 6g
- Fat: 5g
- Carbohydrates: 0.5g
- Fiber: 0g
- Sugar: 0.5g
- Sodium: 71mg
Frequently Asked Questions
Can I use extra-large eggs for Hard Boiled Eggs In The Instant Pot?
Yes, but increase the pressure time to 6 minutes while keeping the 5-minute natural release. Extra-large eggs need slightly more time to reach a fully set yolk.
Why do my eggs have a green ring around the yolk?
That green ring comes from overcooking. Either the pressure time was too long or you skipped the ice bath. Stick to 5 minutes of pressure and a full 5-minute ice bath to avoid it.
How long do Hard Boiled Eggs In The Instant Pot last in the fridge?
Unpeeled eggs last up to 7 days in an airtight container. Peeled eggs should be eaten within 5 days if stored submerged in cold water with daily water changes.
Can I cook more than 4 eggs at once?
Yes, you can cook up to 6 eggs using the same water and trivet setup. Arrange them in a single layer without stacking. Do not exceed 6 eggs for even cooking.
Do I need to prick the eggs before cooking?
No, there is no need to prick the eggs. The pressure cooking method does not cause eggs to crack if you start them cold and let the pressure build gradually.
What if my eggs are hard to peel?
Hard-to-peel eggs usually mean the ice bath was too short or the eggs are very fresh. Let them sit in the ice water for at least 5 minutes, and try peeling under running water.
Final Words
This method for Hard Boiled Eggs In The Instant Pot takes the guesswork out of a simple kitchen task. Once you see how easily the shells come off and how perfect the yolks turn out, you will not go back to boiling them on the stove.
Give this recipe a try the next time you need a batch of eggs for salads, snacks, or breakfast. It is a small change that makes a big difference in your daily cooking routine.
Similar Recipes
PrintHard Boiled Eggs In The Instant Pot
These Instant Pot hard boiled eggs are perfectly cooked with tender whites and creamy, fully set yolks, without the green ring or sulfur smell. The pressure cooking method ensures easy peeling every time, making them ideal for meal prep, salads, or snacking.
- Prep Time: 5
- Cook Time: 15
- Total Time: 20
- Yield: 4 1x
- Category: Snack
- Method: Stovetop (Pressure Cooker)
- Cuisine: American
Ingredients
- 4 large eggs (refrigerated)
- 1 cup cold water
- Ice cubes, for ice bath
Instructions
- Place the trivet inside the Instant Pot insert. Pour 1 cup of cold water into the pot, ensuring the water level does not exceed the trivet. The trivet keeps the eggs elevated and prevents them from resting in the water, which can cause hot spots and uneven cooking.
- Gently arrange 4 large eggs on the trivet in a single layer, spacing them slightly apart to allow steam to circulate. Avoid stacking eggs, as this can lead to uneven pressure cooking and inconsistent doneness.
- Secure the lid on the Instant Pot and turn the steam release valve to the Sealing position. This is critical; if the valve is in Venting mode, the pot will not build pressure and the eggs will not cook properly.
- Press the Pressure Cook (Manual) button and set the timer to 5 minutes at high pressure. For large eggs, 5 minutes yields fully set yolks; for extra-large eggs, increase to 6 minutes. For medium eggs, use 4 minutes. Do not exceed 5 minutes for large eggs, or the yolks may develop a green ring.
- Once the cooking cycle ends, allow the pressure to release naturally for 5 minutes. This natural release slowly finishes the cooking and prevents the eggs from overcooking while still steaming inside the pot.
- After 5 minutes of natural release, carefully turn the steam release valve to the Venting position to quick-release any remaining pressure. Stand back from the vent, as the escaping steam is very hot.
- While the pressure releases, prepare an ice bath by filling a large bowl with cold water and adding a generous handful of ice cubes. The ice bath should be deep enough to fully submerge the eggs.
- Using tongs, transfer the eggs immediately from the Instant Pot to the ice bath. Let them sit in the ice water for at least 5 minutes to stop the cooking process completely. This step is essential for easy peeling and prevents the gray-green yolk ring.
- To peel, gently tap each egg on a hard surface to crack the shell, then roll it between your palms to loosen the shell. Peel under a thin stream of cool water to help slip the shell off cleanly. The shell should come off in large pieces with minimal sticking.
- Pat the peeled eggs dry with a paper towel. Use immediately for salads, deviled eggs, or snacking, or store unpeeled in the refrigerator to maintain freshness.
Notes
Store unpeeled hard boiled eggs in an airtight container in the refrigerator for up to 7 days. For best texture, keep eggs in their shells until ready to eat. To reheat, place peeled eggs in a bowl of warm water for 2-3 minutes; do not microwave, as this can make the whites rubbery. For meal prep, cook up to 6 eggs at a time using the same water and trivet setup.
Nutrition
- Calories: 72
- Sugar: 0.5g
- Sodium: 71mg
- Saturated Fat: 1.5g
- Carbohydrates: 0.5g
- Fiber: 0g
- Protein: 6g
- Cholesterol: 186mg
Keywords: instant pot eggs, hard boiled eggs, pressure cooker eggs, easy peel eggs, meal prep eggs, deviled eggs, healthy snack, keto snack, high protein snack, egg recipe