 Kendric adan
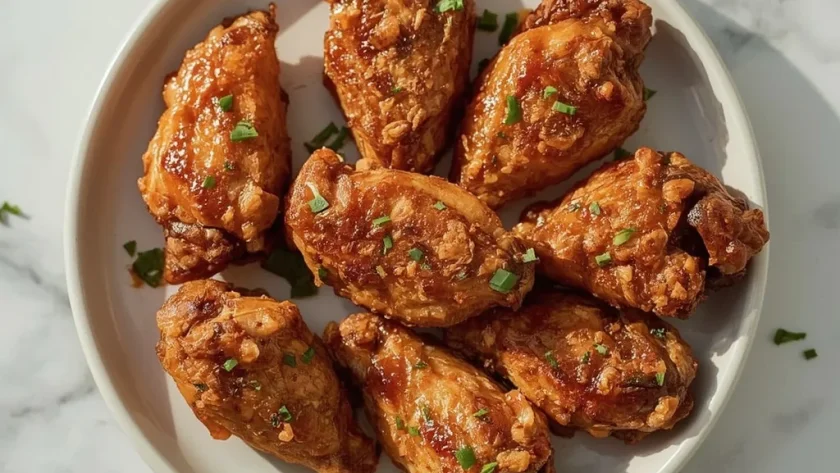
 These crispy Baked Wings deliver that deep-fried crunch without a pot of oil. A simple dry brine with baking powder and salt draws out surface moisture, giving you shatteringly crisp skin every time.
Total time is about an hour, and the skill level is beginner-friendly. The trickiest part is remembering to pat the wings completely dry, which is the secret to that golden-brown crunch. This recipe is perfect for game day, a casual dinner, or anytime you want wings without the mess of frying.
Why You’ll Love This Recipe
- No deep frying needed — You get crunchy, golden skin from your regular oven without dealing with hot oil.
- Shatteringly crisp texture — The baking powder and salt technique creates a crust that rivals any fried wing.
- Simple pantry ingredients — Just chicken, baking powder, salt, pepper, and a few spices are all you need for great flavor.
What Makes This Recipe Special
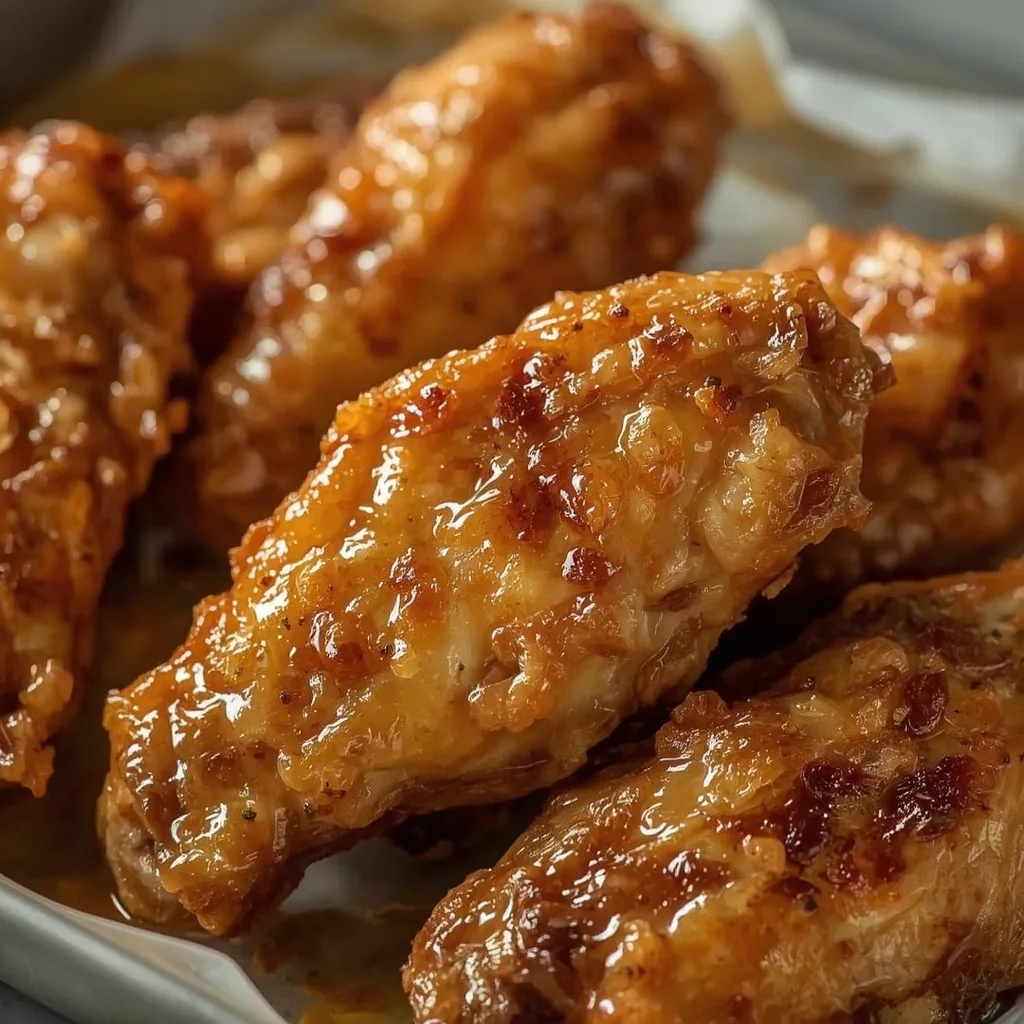
A combination of baking powder and salt works as a dry brine here. The baking powder raises the pH of the chicken skin, which speeds up browning and creates that super-crisp texture. You get a deeply golden, crackling crust on every piece, while the meat stays tender and juicy inside. It is a straightforward method that turns a simple ingredient into something memorable.
Ingredients You’ll Need
Here is exactly what you need to gather before starting. Using the right type of each ingredient makes a noticeable difference.
For the Wings
- 1.5 lb chicken wings (about 12 wings) — Separated into drumettes and flats, with the tips removed. You can buy them already separated at most grocery stores.
- 1 tbsp baking powder (aluminum-free) — This is essential. Aluminum-free baking powder prevents a metallic aftertaste that can happen with regular baking powder.
- 1 tsp kosher salt — Kosher salt dissolves evenly and draws out moisture from the skin better than fine table salt.
- 1/2 tsp garlic powder — Adds a savory depth without burning during the long bake time.
- 1/2 tsp onion powder — Complements the garlic and gives the seasoning mix a little extra backbone.
- 1/2 tsp freshly ground black pepper — Freshly ground pepper gives a brighter heat than pre-ground.
- 2 tbsp vegetable oil (or canola oil) — A neutral oil helps the skin render and crisp, and it carries the seasoning across every piece.
For Optional Buffalo Sauce
- 1/4 cup hot sauce (e.g., Frank’s Red Hot) — Classic cayenne-based hot sauce delivers a tangy, vinegary kick. Frank’s is the standard for Buffalo wings.
- 2 tbsp unsalted butter, melted — Butter mellows the heat and adds richness. Unsalted lets you control the salt level.
- 1 tsp honey — A tiny bit of sweetness balances the acidity of the hot sauce and butter.
Equipment Needed
- Large rimmed baking sheet — You need one big enough to hold all the wings in a single layer without overlapping.
- Wire rack (like a cooling rack) — This elevates the wings so hot air circulates all around them. Without it, the bottoms stay soggy.
- Paper towels — You will go through several to thoroughly dry the chicken. Moisture is the main obstacle to crisp skin.
- Instant-read thermometer — The most reliable way to check doneness without guessing or cutting into a piece.
- Tongs — Flipping the wings halfway through is much easier with a good pair of tongs.
Instructions to Prepare crispy Baked Wings
These steps are straightforward, but each one matters for the final crunch. Do not skip or rush any of them.
- Prep the oven and pan — Preheat your oven to 425°F (218°C) with a rack in the upper third. Line a large rimmed baking sheet with foil, then place a wire rack inside. The foil makes cleanup easy, and the rack keeps air moving under the wings.
- Dry the wings thoroughly — Pat the chicken wings completely dry with paper towels. Take extra care here — any leftover moisture will steam the skin instead of crisping it.
- Mix the dry rub — Combine the baking powder, kosher salt, garlic powder, onion powder, and black pepper in a small bowl. Stir until everything is evenly distributed.
- Season the wings — Sprinkle the dry rub over the wings and toss with your hands or a spatula until every piece is evenly coated. The baking powder is what creates the crispy reaction as it bakes.
- Add the oil — Drizzle the vegetable oil over the seasoned wings and toss again to lightly coat. Arrange the wings in a single layer on the wire rack, making sure they do not touch. Overcrowding traps steam and ruins the crisp.
- First bake — Bake for 25 minutes. You will see the skin start tightening and browning. Remove the sheet and flip each wing with tongs so both sides cook evenly.
- Second bake — Return to the oven and continue baking for another 20 to 25 minutes, until the wings are deep golden brown and the skin sounds crispy when tapped. Total bake time is 45–50 minutes.
- Check for doneness — Insert an instant-read thermometer into the thickest part of a drumette without touching bone. It should register 165°F (74°C).
- Make the sauce (optional) — While the wings bake, combine hot sauce, melted butter, and honey in a small saucepan over low heat. Whisk until smooth and warm, about 2 minutes.
- Toss and serve — Transfer cooked wings to a large bowl. For plain wings, serve with ranch or blue cheese dressing. For saucy wings, pour the Buffalo sauce over and toss until well coated. Serve immediately while still hot and crispy.
Expert Tips for a Standout crispy Baked Wings
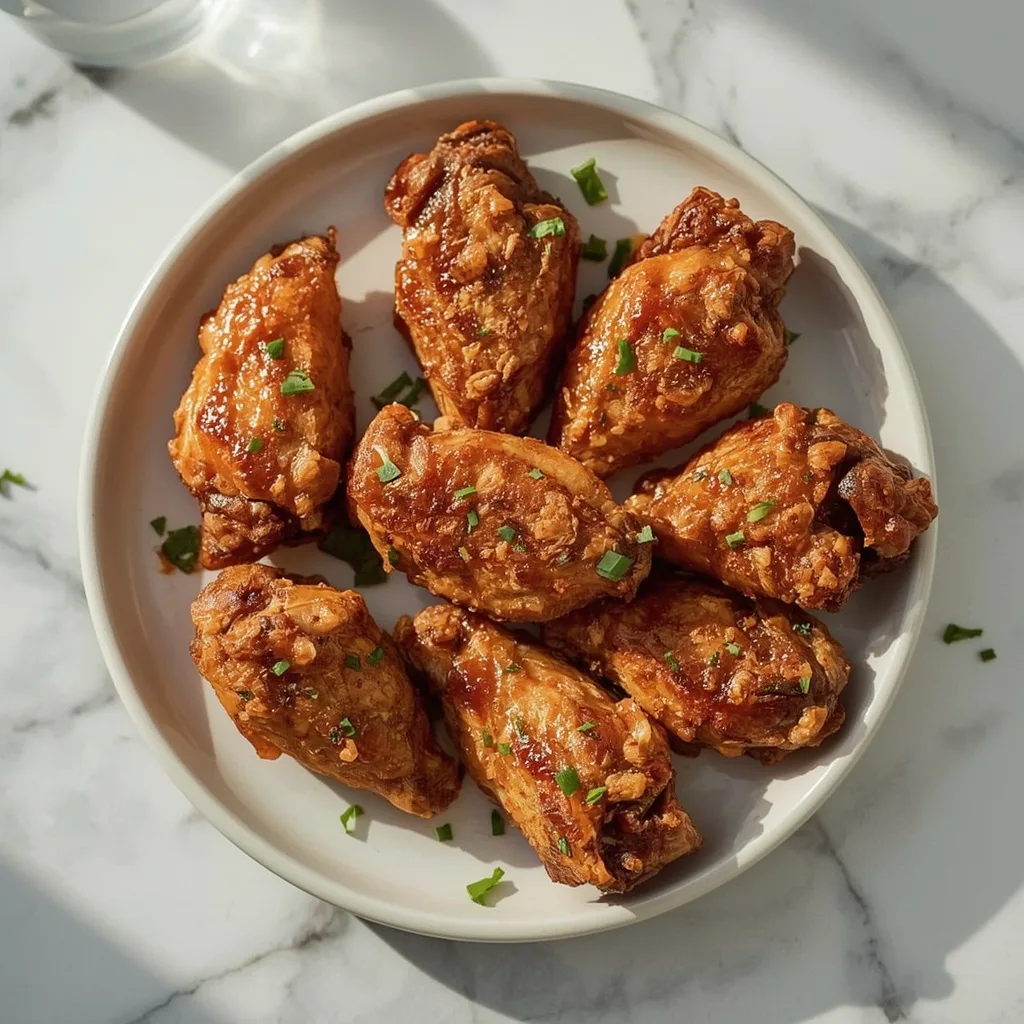
- Pat the skin bone-dry — Use several layers of paper towels and press firmly. Any moisture left on the surface turns to steam in the oven, which keeps the skin from getting shatteringly crisp.
- Use the right baking powder — Aluminum-free baking powder is non-negotiable here. Regular baking powder can leave a faint metallic taste on the finished wings.
- Do not crowd the rack — Leave a little space between each wing piece. If they touch, the sides that overlap stay pale and soft instead of browning evenly.
- Flip halfway through — Turning each wing at the 25-minute mark ensures both sides get the same exposure to the hot oven air. Your wings will be evenly golden all over.
- Check temperature, not just color — Wings can look done on the outside but still be undercooked near the bone. An instant-read thermometer at 165°F removes all doubt.
- Skip the sauce if you want max crunch — Tossing wings in sauce immediately softens the crispy skin. For the absolute best texture, serve sauce on the side for dipping.
- Serve within 10-15 minutes — The wings hold their crunch best right out of the oven. After about 15 minutes at room temperature, moisture from the air starts to soften the crust.
Common Mistakes to Avoid
- Using wet or damp wings — Skipping the thorough drying step leaves moisture on the skin. That moisture steams during baking and gives you flabby skin instead of a crackling crust.
- Forgetting to add oil — The oil helps the skin render and brown. Without it, the seasoning can burn, and the skin may dry out rather than crisp up.
- Skipping the wire rack — Placing wings directly on the baking sheet traps steam underneath. The bottoms stay soft and pale, no matter how long you bake them.
- Overcrowding the pan — Wings that touch each other create pockets of steam. That steam prevents browning where the pieces overlap, leaving you with unevenly cooked wings.
- Baking at the wrong temperature — Too low, and the wings dry out before the skin crisps. Too high, and the outside burns while the inside stays undercooked. Stick to 425°F.
- Adding sauce too early — If you sauce the wings and let them sit, the crispy skin turns soft within minutes. Either serve sauced wings immediately, or keep the sauce on the side.
Variations & Ways to Customize crispy Baked Wings
- Spicy garlic version — Skip the Buffalo sauce and toss the baked wings in a mix of melted butter, minced garlic, red pepper flakes, and a pinch of salt.
- Sweet and smoky BBQ — Toss the cooked wings in your favorite BBQ sauce mixed with a teaspoon of smoked paprika for a deeper, wood-fired flavor.
- Lemon pepper style — Add 1 teaspoon of lemon zest and 1 teaspoon of cracked black pepper to the dry rub. Serve with lemon wedges for an extra citrus kick.
- Honey sriracha glaze — Whisk together 3 tablespoons of sriracha, 2 tablespoons of honey, and 1 tablespoon of rice vinegar. Toss with the hot wings for a sticky, spicy-sweet coating.
- Herb and parmesan finish — After baking, sprinkle the wings with grated Parmesan cheese, dried oregano, and fresh parsley. Serve with marinara sauce for dipping.
- Asian-inspired option — Toss the baked wings in a mixture of soy sauce, toasted sesame oil, and a drizzle of honey. Top with sesame seeds and sliced green onions.
What to Serve With crispy Baked Wings
These wings are versatile and pair well with a variety of sides and drinks. Here are some ideas to round out the meal.
- Classic celery and carrot sticks — The cool crunch of raw vegetables balances the heat of the wings. Serve with ranch or blue cheese dressing for dipping.
- Creamy blue cheese dip — Tangy, rich blue cheese dressing cuts through the savory crispiness of the wings. It is the traditional partner for Buffalo sauce.
- Crisp coleslaw — A cold, crunchy slaw with a vinegar-based dressing adds freshness and contrast to the warm, rich wings.
- Baked potato wedges — Seasoned potato wedges roasted alongside the wings make a satisfying, filling side that soaks up any extra sauce.
- Simple green salad — A light salad with a vinaigrette dressing adds brightness and a fresh, acidic note that balances the richness of the chicken.
Make-Ahead Instructions
- Season the wings a day ahead — Coat the dry wings with the baking powder rub and oil, then refrigerate uncovered on the wire rack overnight. The extra drying time makes the skin even crispier.
- Par-bake before a party — Bake the wings for the first 25 minutes, then let them cool completely. Refrigerate on the pan, then finish the last 20-25 minutes just before serving.
- Prep the sauce in advance — Whisk together the Buffalo sauce ingredients and refrigerate in a small jar. Warm it gently on the stove while the wings finish baking.
- Separate and freeze raw wings — Portion the wings into freezer bags after separating them. Thaw overnight in the fridge before seasoning and baking.
Storage and Reheating
Storage
- Refrigerate in an airtight container — Leftover wings, plain or sauced, keep well for up to 4 days. Let them cool completely before sealing to avoid condensation.
- Freeze plain wings for best results — Arrange plain baked wings in a single layer on a sheet pan and freeze until solid. Transfer to a freezer bag and store for up to 3 months. Sauced wings do not freeze as well.
- Separate sauce from wings — If you plan to store leftovers, keep the sauce on the side. The wings stay crisper in the fridge without sauce coating them.
Reheating
- Oven at 400°F (200°C) — Place wings on a wire rack over a baking sheet and reheat for 5-7 minutes. They come out hot, crunchy, and close to fresh-baked texture.
- Air fryer at 375°F (190°C) — Reheat in a single layer for 4-6 minutes, shaking the basket halfway. This method restores crispiness quickly, especially for plain wings.
- Avoid the microwave — Microwaving steams the skin, making it rubbery and soft. It is the worst option for leftover wings.
- Reheat sauced wings in the oven — If wings are already sauced, reheating at 400°F (200°C) for 6-8 minutes helps restore some crunch. The sauce may not get fully crisp again, but the oven works better than the microwave.
Nutritional Breakdown (Per Serving)
Based on 1 serving = ¼ of the recipe (about 3 wing pieces).
- Calories: 400
- Protein: 32g
- Fat: 31g
- Saturated Fat: 10g
- Carbohydrates: 0g
- Fiber: 0g
- Sugar: 0g
- Sodium: 941mg
- Cholesterol: 145mg
Frequently Asked Questions
Can I use frozen wings to make crispy Baked Wings?
Yes, but you must thaw them completely in the refrigerator first. Pat them bone-dry with paper towels before seasoning. Frozen wings release too much moisture during baking, which prevents crisping.
How long does the skin stay crispy after baking?
Plain wings stay crisp for about 10-15 minutes at room temperature. Once you toss them in sauce, the crust softens within a minute or two. Serve immediately or keep sauce on the side for dipping.
Can I use this method for chicken thighs or drumsticks?
Yes, the same baking powder and dry brine technique works on any chicken pieces with skin. Larger cuts like thighs and drumsticks need a longer bake time — check for an internal temperature of 165°F (74°C).
Do I have to use aluminum-free baking powder?
Yes, for the best flavor. Regular baking powder can leave a metallic aftertaste after baking at a high temperature. Aluminum-free types are widely available and make a noticeable difference in taste.
Can I make these wings gluten-free?
Yes, this recipe is naturally gluten-free as written. The dry rub contains no wheat or gluten-containing ingredients. Just double-check your hot sauce if you are making the Buffalo option, as some brands may add gluten.
Why did my wings turn out tough instead of crispy?
Tough wings usually mean they were either undercooked or baked at too low a temperature. The 425°F heat is important for rendering the fat and crisping the skin. Also, make sure your wings are fully dry before seasoning.
Final Words
This method for crispy Baked Wings gives you restaurant-quality crunch at home with very little fuss. Once you see how simple it is, you may never reach for the deep fryer again. Give it a try for your next game day gathering or weeknight dinner — I think you will be pleasantly surprised.
More Recipes
PrintCrispy Baked Wings
These crispy baked wings achieve a deep-fried crunch without the oil, thanks to a baking powder and salt dry brine that draws out moisture. Perfect as an appetizer or main, they can be enjoyed plain or tossed in your favorite sauce for game day or weeknight dinners.
- Prep Time: 15
- Cook Time: 45
- Total Time: 60
- Yield: 4 1x
- Category: Appetizer
- Method: Baking
- Cuisine: American
Ingredients
- 1.5 lb chicken wings (about 12 wings), separated into drumettes and flats, tips removed
- 1 tbsp baking powder (aluminum-free)
- 1 tsp kosher salt
- 1/2 tsp garlic powder
- 1/2 tsp onion powder
- 1/2 tsp freshly ground black pepper
- 2 tbsp vegetable oil (or canola oil)
- For optional Buffalo sauce: 1/4 cup hot sauce (e.g., Frank’s RedHot), 2 tbsp unsalted butter, melted, 1 tsp honey
Instructions
- Preheat your oven to 425°F (218°C) and position a rack in the upper third. Line a large rimmed baking sheet with aluminum foil for easy cleanup, then place a wire rack (like a cooling rack) inside the sheet. This elevates the wings so air circulates evenly, ensuring all sides get crispy.
- Pat the chicken wings completely dry with paper towels. Moisture is the enemy of crispiness, so take extra care to remove as much surface moisture as possible. Transfer the wings to a large mixing bowl.
- In a small bowl, combine the baking powder, kosher salt, garlic powder, onion powder, and black pepper. Stir to mix thoroughly. Sprinkle this dry rub over the wings and toss with your hands or a spatula until every piece is evenly coated. The baking powder reacts with the chicken skin, raising its pH and promoting browning and crisping as it bakes.
- Drizzle the vegetable oil over the seasoned wings and toss again to lightly coat. The oil helps the skin render and crisp, and also carries the seasoning. Arrange the wings in a single layer on the wire rack, making sure they are not touching; overcrowding will trap steam and prevent crisping.
- Bake the wings for 25 minutes at 425°F (218°C). You’ll see the skin start to tighten and brown. Remove the baking sheet from the oven and, using tongs, flip each wing over. This ensures even cooking and browning on both sides.
- Return the sheet to the oven and continue baking for another 20 to 25 minutes, until the wings are deep golden brown and the skin is shatteringly crisp. The total cook time is 45–50 minutes. To check doneness, insert an instant-read thermometer into the thickest part of a drumette without touching bone; it should register 165°F (74°C). The skin should also sound crispy when tapped.
- While the wings bake, prepare the optional Buffalo sauce (if using). In a small saucepan over low heat, combine the hot sauce, melted butter, and honey. Whisk until smooth and warm, about 2 minutes. Remove from heat and set aside.
- Once the wings are fully cooked, transfer them to a large bowl. For plain wings, simply serve with ranch or blue cheese dressing on the side. For saucy wings, pour the Buffalo sauce over and toss until each wing is well coated. Serve immediately while the wings are still hot and crispy.
- If you prefer extra-crispy wings, skip saucing and instead serve the sauce on the side for dipping. The wings will stay crisp for about 10-15 minutes at room temperature; after that, the steam from the sauce will soften them.
Notes
Storage: Refrigerate leftover wings (plain or sauced) in an airtight container for up to 4 days. To freeze, freeze plain baked wings in a single layer on a sheet pan, then transfer to a freezer bag for up to 3 months. Reheating: For best crispiness, reheat in a preheated 400°F (200°C) oven or air fryer for 5-7 minutes until hot and crunchy. Avoid microwaving, which will steam and soften the skin. If wings are sauced, reheating may not restore full crispiness, but the oven will help.
Nutrition
- Calories: 400
- Sugar: 0g
- Sodium: 941mg
- Unsaturated Fat: 7g
- Carbohydrates: 0g
- Fiber: 0g
- Protein: 32g
- Cholesterol: 150mg
Keywords: crispy baked wings, baked chicken wings, oven fried wings, game day appetizer, healthy wings, buffalo wings alternative, easy wings recipe, crispy skin, low carb wings, party snack, American cuisine